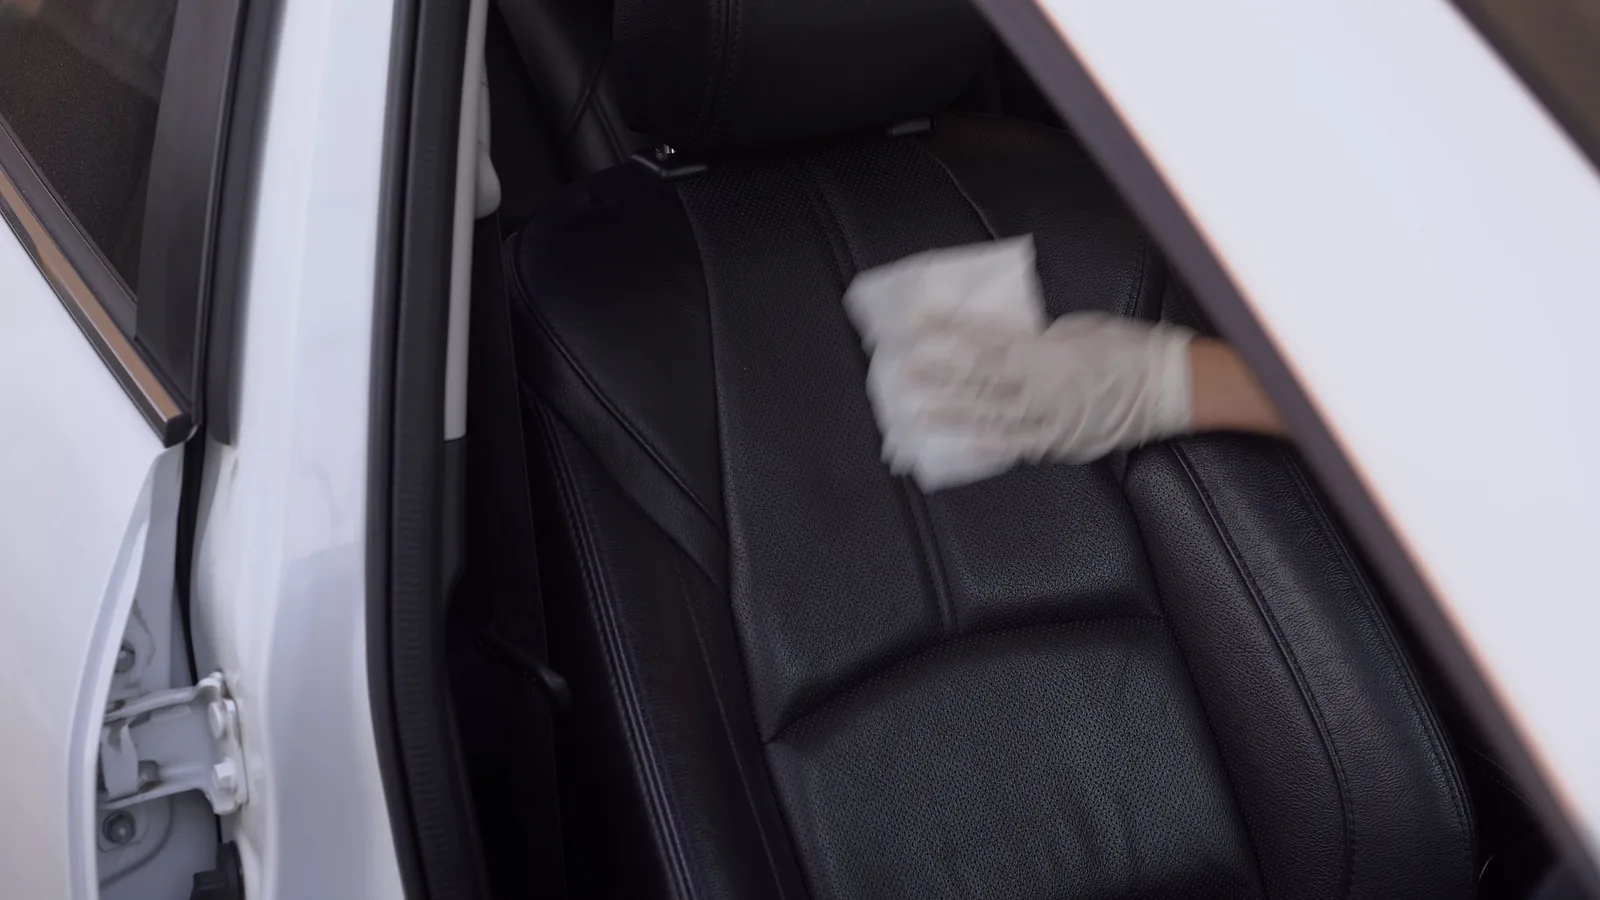
How To Use A Clay Bar On Car Paint
A practical step-by-step guide to How to use a clay bar on car paint, including preparation, instructions, common issues, tips, and next steps.

How To Use A Clay Bar On Car Paint
Using a clay bar on car paint removes embedded contaminants such as tree sap, industrial fallout, and brake dust that regular washing cannot lift. The result is paint that feels glass-smooth and allows wax or sealant to bond properly. This guide walks you through preparation, lubrication, technique, and aftercare so you can clay your paint safely without causing marring or scratches, even if you have never done it before.
Fast Answer
- Clay only after washing and drying the car, because a clay bar glides on a clean surface and will drag grit across the paint if any dirt remains.
- Keep the surface wet with a dedicated clay lubricant or a soapy rinse solution at all times, and knead the clay to a fresh side as soon as it looks gray or dirty.
Before You Start
- Wash the vehicle thoroughly with a quality car soap to remove loose dirt, road film, and dust before any clay touches the paint.
- Dry the car with a soft microfiber towel so you can see and feel the surface, which helps you locate rough areas during claying.
- Gather a clay bar, a spray lubricant or a bucket of soapy water, microfiber towels, and a plastic bag for testing the surface.
- Park in a shaded, cool area and work one panel at a time so the lubricant does not dry before you finish the section.
Step-by-Step Instructions
Wash and dry the paint fully
Start by washing the entire vehicle with a proper car soap and a clean wash mitt, working from the roof downward so dirt from lower panels does not contaminate the upper surfaces. Rinse each section before it dries, then dry the car with a soft microfiber towel. Once dry, slide your hand into a thin plastic bag and run your fingertips lightly over the paint. The bag amplifies texture, so you will feel tiny bumps that your bare hand misses. Those bumps are the bonded contaminants the clay bar is designed to remove. This check matters because it tells you exactly which panels need claying and gives you a before-and-after reference, so you can confirm the clay actually worked instead of guessing.
Set up your clay and lubricant
Break off a piece of clay about the size of a small cookie, then flatten it into a disc that fits comfortably in your fingers. If the clay feels hard or crumbly, warm it in your palms for a minute until it becomes pliable. Choose your lubricant: a dedicated clay spray or a bucket of fresh soapy water made with car wash soap. Spray or wipe a generous amount onto a two-foot by two-foot section of paint, then glide the clay across the wet surface with light pressure. This check matters because the lubricant is what separates the clay from the paint, and a dry spot will cause the bar to grab, chatter, and leave marks.
Glide the clay in straight lines
Place the flattened clay on the wet paint and move it back and forth in straight, overlapping strokes, not circles. Let the clay do the work with very light pressure; you are shearing off contaminants, not scrubbing them. Work a small section at a time, keeping the surface slick with lubricant. After a few passes, fold the clay in half and knead it so a clean side faces the paint. Continue until the surface feels smooth under the clay and the bar glides without resistance. This check matters because the change in feel is your real-time signal that the panel is clean, and kneading prevents the captured grit from being dragged across the paint and causing fine scratches.
Check each panel before moving on
After claying a section, wipe the residue away with a clean microfiber towel and run the plastic bag test again over that area. The paint should feel noticeably smoother and the bag should slide without catching. If you still feel roughness, apply more lubricant and make another pass with a fresh side of clay. Then inspect the panel in good light at a low angle to spot any hazing or fine marks from the clay. This check matters because it tells you whether the section is truly finished and whether you need to adjust your pressure or lubrication before repeating the same mistake on the rest of the car.
Clay the rest of the car in order
Continue around the vehicle one panel at a time, starting with the roof and working down through the hood, trunk, and sides, saving the lowest and dirtiest panels for last. Keep the clay covered in lubricant and knead it often. On heavily contaminated areas such as the lower doors or behind the wheels, use a fresh piece of clay rather than the one you have already used on cleaner paint. When you finish each panel, wipe it dry and set it aside. This order matters because contaminants from the dirtiest sections would otherwise be spread onto the cleaner upper panels, forcing you to redo work and increasing the chance of scratching the finish.
Protect the paint right away
Once the whole car is clayed, the paint is bare and unprotected, so apply a wax, sealant, or coating within the same session. Work in the shade on a cool surface, apply the product per its instructions in thin, even layers, and buff it off with a clean microfiber towel before it fully dries. Let the product cure as directed before exposing the car to rain or washing. This final step matters because claying strips away old wax and leaves the surface exposed to UV light, bird droppings, and water spots, and a fresh layer of protection is what preserves the smooth finish you just created. Skipping it can undo the benefit of all your work.
Quick Reference
| Situation | Action | Why it helps |
|---|---|---|
| You can feel rough bumps on the paint after washing. | Do a plastic bag test, then clay that panel with plenty of lubricant using light straight strokes, kneading the clay when it looks dirty. | The bumps are embedded contaminants that washing cannot remove, and claying lifts them so the surface becomes smooth and ready for protection. |
| The clay bar starts to drag or chatter on the paint. | Stop immediately, spray more lubricant on the section, fold and knead the clay to a clean side, and resume with lighter pressure. | A dry or dirty clay bar grabs the paint and can leave fine scratches, so adding lubricant and refreshing the clay restores a safe glide. |
| You drop the clay bar on the ground. | Throw that piece away right away, break off a fresh piece, and continue claying the panel with a new clean surface. | Clay picks up grit instantly on contact with the ground, and that grit will be dragged across your paint and cause scratches if you keep using it. |
Common Issues
- Fine scratches or hazing appear after claying.: The cause is usually too little lubricant, too much pressure, or a dirty clay bar. Rewash the panel, use a fresh piece of clay with generous lubricant and very light pressure, then polish the affected area with a gentle finishing polish on a soft pad to remove the marks.
- The clay leaves a sticky residue on the paint.: This happens when the lubricant dries before you wipe it off. Work smaller sections in the shade, wipe the residue with a clean microfiber towel while it is still wet, and if it has dried, spray a little lubricant or detail spray to soften it before wiping gently.
- The paint still feels rough after several passes.: The clay may be saturated or the contamination may be severe. Knead to a clean side or switch to a new piece, add more lubricant, and make additional passes. If roughness remains, the surface may need a chemical decontamination step before claying again.
Advanced Tips
- Use different clay grades for different jobs: a fine grade for light contamination and a medium grade for neglected paint, and always finish with the mildest grade that works.
- Fold and knead the clay after every panel so a clean face always contacts the paint, and mark the used side mentally to avoid flipping it back onto the surface.
- After claying, do a chemical decontamination with an iron remover before applying protection, because clay removes physical particles but leaves some metallic fallout embedded in the pores.
Final Checklist
- Confirm every panel passes the plastic bag test and feels smooth before you apply any protection product.
- Verify that all clay residue and lubricant have been wiped away with clean microfiber towels so no film remains.
- Apply wax, sealant, or coating to the entire vehicle in the shade and let it cure according to the product instructions.
- Store unused clay in an airtight container away from heat and dirt, and discard any piece that has been dropped on the ground.
FAQ
How often should I clay my car?
Clay only when the plastic bag test reveals roughness, which for many daily drivers is once or twice a year. Cars parked outside or driven near industrial areas may need it more often, while garaged cars may go longer. Claying too frequently removes protection and can add unnecessary wear, so let the feel of the paint decide rather than a fixed schedule.
Can I clay over wax or sealant?
Yes, but the clay will strip most of the existing wax or sealant along with the contaminants. That is why you should always reapply protection right after claying. If you are happy with your current protection and the paint is still smooth, you can skip claying until the surface feels rough again.
What should I use as clay lubricant?
A dedicated clay lubricant is the safest choice because it is formulated to stay slippery. A fresh bucket of car wash soap and water also works for many people. Avoid using plain water or household cleaners, and check the clay product instructions for the lubricant they recommend for your specific bar.