How To Detail Car Interior Like A Professional
A practical step-by-step guide to How to detail car interior like a professional, including preparation, instructions, common issues, tips, and next steps.

How To Detail Car Interior Like A Professional
Detailing your car interior to a professional standard is less about expensive products and more about a repeatable process: remove loose items, dry-clean surfaces from top to bottom, lift dirt from fabric with gentle agitation, condition leather and plastic, clear glass without streaks, and finish with a careful inspection. This guide walks through each phase with calm, practical steps so you can restore a fresh, clean cabin without guesswork or harsh chemicals.
Fast Answer
- Start by removing all loose items and floor mats, then work top to bottom and dry to wet. Vacuum first, agitate fabric stains with a soft brush, wipe hard surfaces with a mild cleaner, and finish with glass and a final inspection.
- Use two cloths for every surface: one to apply cleaner, one to dry. This prevents smearing, keeps dirt from spreading, and gives you a clear view of whether a stain is lifting before you move to the next step.
Before You Start
- Gather microfiber cloths, a soft detailing brush, a vacuum with a crevice tool, mild interior cleaner, glass cleaner, and a small bucket of warm water. Keep separate cloths for glass, leather, and fabric to avoid cross-contamination.
- Park in a shaded, well-ventilated area and open all doors, the trunk, and windows. Good airflow helps cleaners dry evenly and reduces the chance of inhaling fumes in an enclosed space.
- Remove floor mats, loose objects, phone mounts, and anything in the door pockets or center console. Put small items in a labeled tray so you can return them to the correct spot at the end.
- Take a few photos of the dashboard, console, and seats before you start. These reference images help you remember where trim pieces, clips, and controls belong if you remove anything during the clean.
Step-by-Step Instructions
Remove Loose Items and Floor Mats
Begin by opening all doors and removing everything that is not attached to the car: floor mats, water bottles, charging cables, papers, coins, and items stuffed in seat-back pockets. Place floor mats outside on a clean surface, and put small personal items in a tray or bag so they do not get lost. This step matters because vacuuming and wiping are far more effective when the workspace is clear, and it prevents you from scrubbing around objects that hide dirt. Once the cabin is empty, look for debris under the seats and along the seat rails. A quick pass with a crevice tool or a dry brush will loosen crumbs and sand before you vacuum. As a practical check, run your hand along the floor carpet and under the front seats; if you feel grit, remove it now rather than pushing it deeper into the fibers later.
Vacuum Top to Bottom and Seat Rails
Use a vacuum with a crevice tool and a brush attachment to clean from the top down. Start with the headliner only if it is dusty, then move to the dashboard, vents, seat crevices, and finally the carpet and floor mats. Work slowly along seat rails and under the front seats, where crumbs and sand collect. This order keeps loosened dust from falling onto areas you already cleaned. For fabric seats, use the brush attachment with light pressure to lift debris without pulling the fibers. Check the vacuum canister or bag as you go; if it fills quickly, empty it because reduced airflow means you are spreading dust rather than removing it. A practical check is to vacuum the same section twice and look at the floor after the second pass. If you still see grit, adjust the nozzle angle and go over the area again before moving on.
Clean and Condition Hard Surfaces
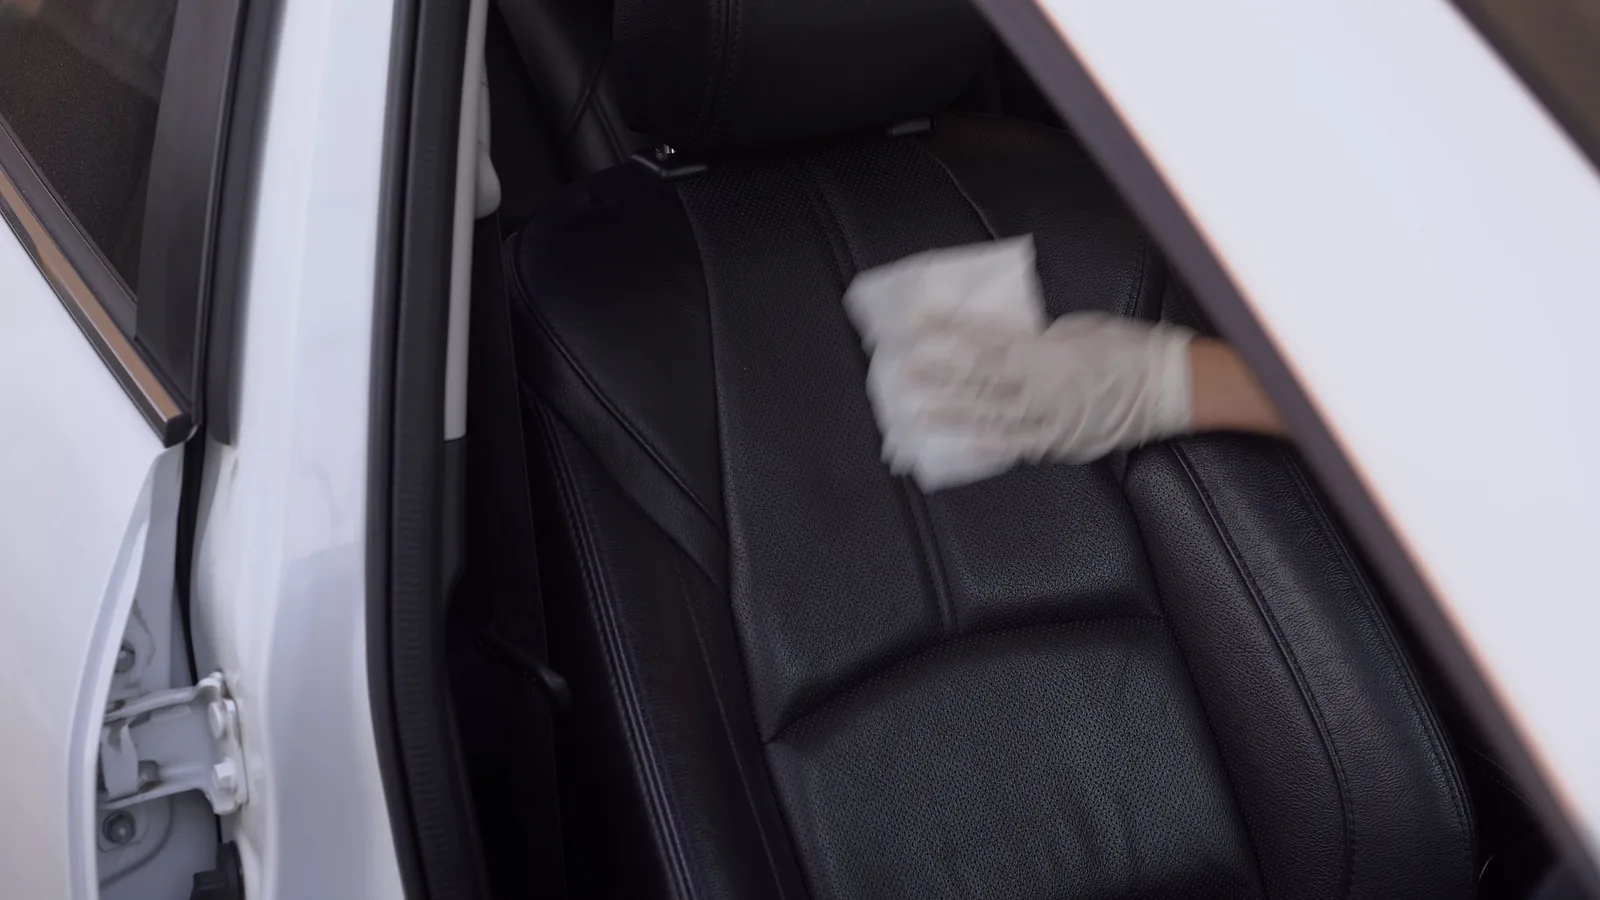
Mix a mild interior cleaner according to its label, then apply it to a microfiber cloth rather than spraying directly on the dashboard. Wipe plastic, vinyl, and painted trim in sections, starting with the top of the dashboard and working down to the console and door panels. Use a soft detailing brush for vents, buttons, and seams, then wipe away residue with a clean, dry cloth. This step removes oily film and dust that can make a cabin feel stale. Conditioning matters because sun exposure and heat dry out plastic and leather over time, which can lead to cracking. After cleaning, apply a small amount of conditioner or protectant to a cloth and buff it into the surface. Check your work by looking at the surface from a low angle in daylight; if you see streaks or a greasy shine, buff again with a dry cloth until the finish looks even and dry to the touch.
Treat Fabric Seats and Carpet Stains
For fabric seats and carpet, vacuum first, then apply a small amount of fabric cleaner to a cloth or soft brush. Work it into the stain in gentle circles, starting at the outside edge and moving inward to prevent the stain from spreading. Let the cleaner sit for the time stated on its label, then blot with a clean, dry cloth. Do not soak the fabric, because excess moisture can reach the padding and cause odors. This step is where patience matters: repeated light passes lift more dirt than one heavy scrub. After blotting, use a clean brush to raise the carpet fibers and help the area dry evenly. Check the stain by pressing a white cloth against it. If the cloth picks up color, repeat the process with less moisture. If the cloth stays clean, the stain is lifted, and you can move to the next section.
Detail Glass, Mirrors, and Screens
Clean interior glass and mirrors with a glass cleaner and two microfiber cloths: one damp for cleaning and one dry for buffing. Spray the cloth, not the glass, to avoid drips into door panels or electronics. Wipe the windshield in horizontal passes on the inside and vertical passes on the outside, which helps you spot streaks left from either side. For infotainment screens, use only a dry or slightly damp microfiber cloth, and avoid harsh cleaners that can damage coatings. This step improves visibility and makes the cabin feel brighter. Check your work by sitting in the driver's seat and looking through the windshield toward a light-colored wall. If you see haze or streaks, buff again with a dry cloth. Do not press hard on screens or mirror housings; gentle pressure is enough to remove fingerprints and dust without risking damage.
Reassemble and Perform a Final Inspection
Return floor mats, personal items, and any removed trim pieces to their correct places. Check that mats sit flat and do not interfere with pedals, and that seat belts are not twisted or trapped. This step matters because a clean cabin should also be a safe one, and misplaced mats or objects can become hazards. Walk around the interior with a small trash bag and remove any detailing cloths, brushes, or wrappers you used. Then inspect the cabin from the driver's seat, the passenger seat, and the rear seat. Look for missed spots on the dashboard, door pockets, and under the seats. Run your hand along the top of the dashboard and the center console to feel for dust or sticky residue. If you find any, wipe it with a clean cloth and let the area dry before you close the doors.
Quick Reference
| Situation | Action | Why it helps |
|---|---|---|
| You notice a sticky spill on the center console. | Dampen a microfiber cloth with mild interior cleaner, wipe the spill from the outside edge inward, then dry with a separate clean cloth and buff until no residue remains. | Working from the edge inward keeps the spill from spreading, and drying immediately prevents the cleaner from leaving a sticky film that attracts dust. |
| The fabric seats have a dark, set-in stain. | Vacuum the area, apply a small amount of fabric cleaner to a soft brush, agitate gently in circles, blot with a clean cloth, and repeat with less moisture until the cloth comes away clean. | Light agitation and blotting lift the stain without soaking the padding, and checking the cloth shows whether the stain is actually being removed. |
| Interior glass looks hazy after you clean it. | Use a glass cleaner on a damp microfiber cloth, wipe the glass in one direction, then buff with a dry cloth in the opposite direction until the haze disappears. | Two cloths and crossed directions remove the cleaner residue that causes haze, and buffing with a dry cloth leaves a clear, streak-free surface. |
Common Issues
- Streaks on the dashboard after cleaning.: Wipe the surface again with a clean, dry microfiber cloth and use less cleaner next time. Streaks usually come from too much product or from a cloth that is already saturated with dirt. Buff in one direction and turn the cloth to a clean side as you go.
- A musty smell returns a few days after cleaning.: Check for damp floor mats or carpet and let them dry completely outside the car. Vacuum the carpet again and place a small open container of baking soda under a seat for a day, then remove it. If the smell persists, inspect the cabin air filter and replace it if it looks dirty.
- Lint or fibers left on seats and carpet.: Use a rubber pet-hair brush or a slightly dampened rubber glove to gather lint into a pile, then vacuum it up. Avoid paper towels, which shed fibers. For fabric seats, a soft brush followed by a low-suction vacuum pass lifts lint without driving it deeper.
Advanced Tips
- Use a detailer's trick called the two-bucket method for cloths: one bucket for clean rinse water and one for used cloths. This keeps dirty water from being reapplied to clean surfaces.
- Clean your vents with a soft brush wrapped in a microfiber cloth, then use a vacuum on low suction to pull out loosened dust. This prevents dust from blowing back into the cabin when the fan runs.
- After cleaning leather, apply conditioner with a foam applicator rather than a cloth. The applicator reaches seams evenly and prevents over-saturating the surface, which can leave a greasy feel.
Final Checklist
- All loose items removed and personal belongings returned to their correct storage spots.
- Floor mats secured flat and checked so they do not interfere with pedals or seat movement.
- Dashboard, console, door panels, and vents wiped clean with no visible dust or streaks.
- Glass, mirrors, and screens clear and free of smudges when viewed from the driver's seat.
FAQ
How often should I detail my car interior?
A light clean every two to four weeks keeps the cabin fresh, and a deeper detail every three to six months handles stains, conditioning, and glass. If you carry pets, children, or eat in the car often, clean high-touch areas more frequently and check for crumbs under the seats each time you vacuum.
Can I use household cleaners on car interiors?
Some mild household cleaners work, but many contain harsh ingredients that can dry out or discolor trim, leather, and screens. Check the label and test a small hidden area first. For best results, use products made for automotive interiors and follow the directions on the container.
What should I do if a stain will not come out?
Do not scrub harder, because that can damage the fabric. Instead, apply a small amount of cleaner, let it sit for the time stated on the label, and blot with a clean cloth. Repeat with less moisture. If the stain remains after several gentle attempts, consider having a professional detailer assess it.