How To Clean Car Headliner Without Damaging Fabric
A practical step-by-step guide to How to clean car headliner without damaging fabric, including preparation, instructions, common issues, tips, and next steps.
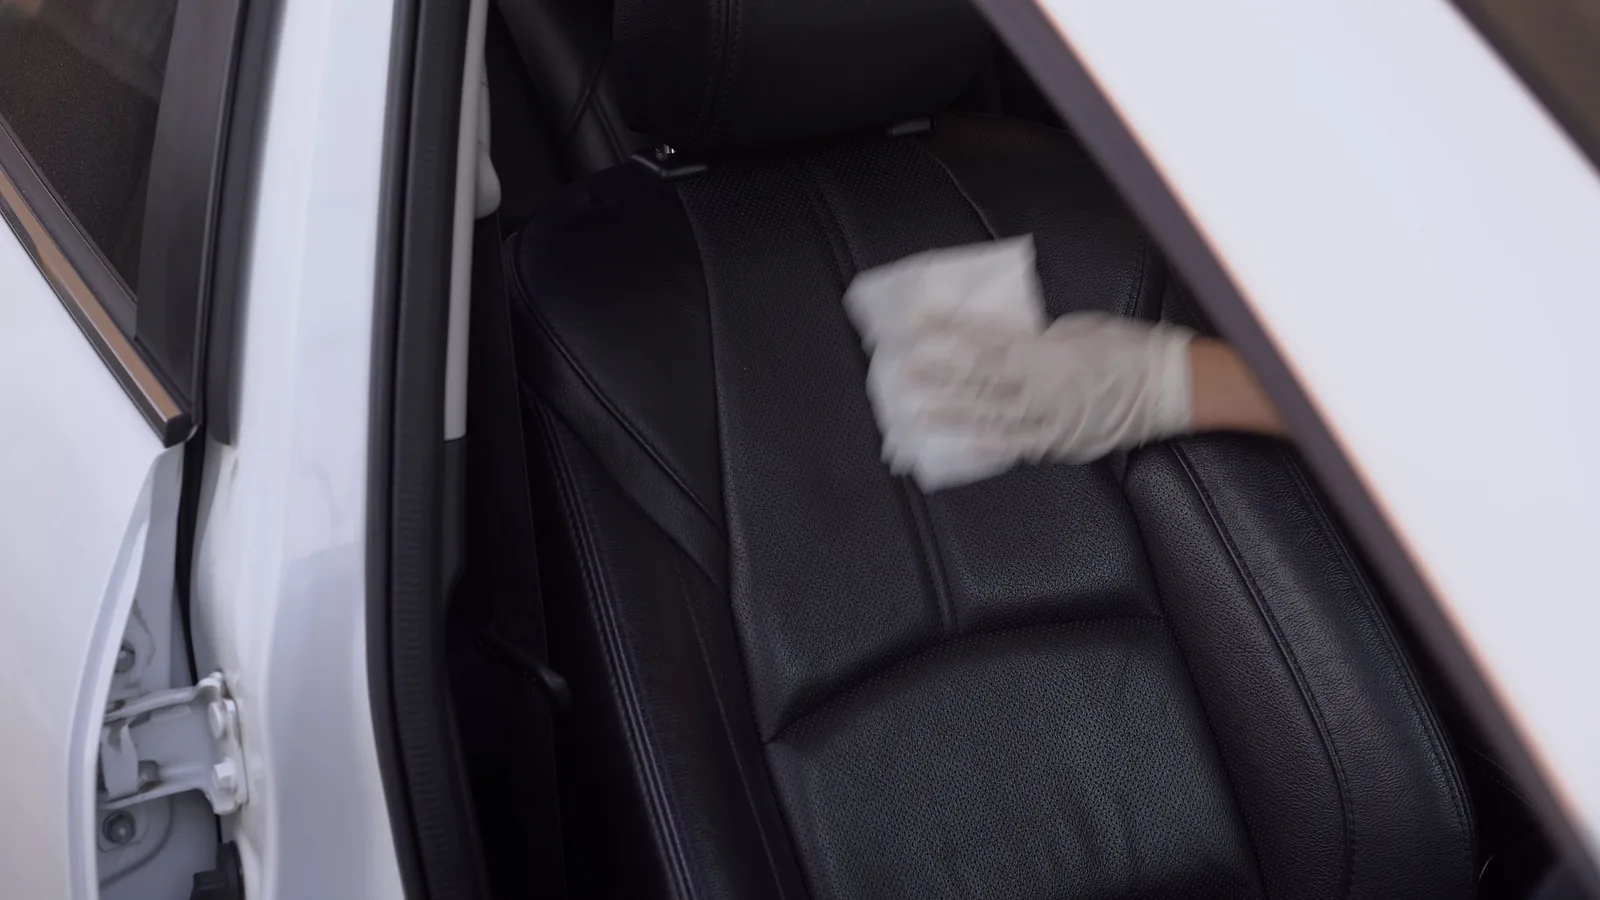
How To Clean Car Headliner Without Damaging Fabric
Cleaning a car headliner without damaging the fabric is a delicate task because the material is usually glued to a thin backing that can sag or separate if it gets too wet. This guide gives you a calm, step-by-step method that uses gentle tools and controlled moisture to lift dirt and stains while protecting the adhesive and the fabric’s texture. You will learn how to test products in a hidden spot, work in small sections, and dry the surface properly so you avoid water rings, peeling, and a sagging roof. The process takes patience, not force, and the result is a fresher cabin without a costly replacement. Follow each step in order, and check your progress as you go so you can stop before any damage starts.
Fast Answer
- Work in small sections with a barely damp microfiber cloth and a gentle foam cleaner, then blot dry immediately to prevent moisture from reaching the adhesive.
- Always test any cleaner on a hidden area first, and never scrub hard or soak the headliner because the fabric is thin and the glue behind it can fail.
Before You Start
- Gather two clean microfiber cloths, a soft-bristle upholstery brush, a spray bottle of distilled water, and a can of automotive upholstery foam cleaner.
- Park the car in a shaded, well-ventilated spot and open the doors or windows so fumes can escape and the headliner can dry evenly.
- Remove anything attached to the headliner, such as sun visors, dome lights, or clips, and cover the seats and dashboard with old towels or plastic sheeting.
- Vacuum the headliner first with a soft brush attachment on low suction to remove loose dust, hair, and crumbs without pressing the fabric.
Step-by-Step Instructions
Test cleaner on a hidden spot
Before you touch the main headliner, find a hidden area such as behind a sun visor or near the rear edge where the fabric meets the roof. Spray a small amount of your chosen foam cleaner onto a clean microfiber cloth, not directly on the fabric, and gently wipe the hidden spot. Wait at least five minutes, then check for color change, bleeding, or softening of the glue. This test matters because headliner fabrics vary widely, and a product that is safe on one car may stain or loosen another. If the test area looks normal and feels dry, proceed. If you see any discoloration or the fabric lifts, stop and choose a milder cleaner or plain distilled water. Record what you used so you can repeat the same method on the visible sections.
Vacuum loose dirt with a soft brush
Attach a soft upholstery brush to your vacuum and set the suction to its lowest setting. Work the brush gently across the headliner in overlapping passes, starting from the front and moving toward the rear. Do not press hard; let the bristles lift dust, hair, and crumbs from the surface. This step is important because dry debris can act like sandpaper if you wipe over it with a damp cloth, causing tiny scratches or pilling. Pay extra attention to areas above the windows and around the dome light, where dust tends to collect. When the brush no longer picks up visible particles, empty the vacuum canister or replace the bag so you are not spreading dirt back into the air. A clean start makes the wet cleaning step more effective and reduces the number of passes you need later.
Clean in small sections with foam
Shake your upholstery foam cleaner well, then spray a small amount onto a clean microfiber cloth until it is damp but not dripping. Work on a section no larger than your hand, starting at the top edge and moving downward. Use gentle, circular motions with very light pressure. The foam lifts dirt without soaking the fabric. After a few passes, fold the cloth to a clean side and wipe away the loosened foam. Immediately follow with a second cloth that is barely damp with distilled water to remove any residue. This two-cloth method matters because leftover cleaner can attract new dirt or leave a sticky film that looks worse than before. Check your cloth often; if it becomes dirty, switch to a clean one. Move to the next section only after the first one feels dry to the touch.
Treat stains with a targeted approach
For specific stains like coffee, grease, or fingerprints, apply a small amount of foam cleaner directly to the stain using a clean cloth, but do not rub aggressively. Instead, blot and press gently, letting the cleaner sit for one minute. Then wipe with a barely damp cloth to rinse. If the stain persists, repeat once, but never scrub hard because that can fray the fabric or push the stain deeper. For greasy marks, a tiny drop of mild dish soap mixed with distilled water on a cloth can help, but rinse thoroughly afterward. This targeted method matters because stains need time to release, and harsh rubbing spreads them. Work from the outside of the stain toward the center to avoid creating a ring. After treating, dry the area with a clean towel or a hair dryer on the cool setting to prevent moisture from seeping into the adhesive.
Dry the headliner quickly and evenly
After cleaning, moisture is your biggest enemy. Use a clean, dry microfiber towel to blot the entire cleaned area, pressing gently to absorb surface water. Then aim a fan or a hair dryer set on cool and low speed at the headliner from about a foot away. Move the air stream constantly so you do not overheat one spot. You can also open the car windows and doors to increase airflow. Drying quickly matters because lingering moisture can weaken the adhesive and cause the fabric to sag or develop a musty smell. Check by touching the headliner with the back of your hand; it should feel completely dry, not cool or damp. If any area still feels wet, keep drying. Do not drive with the windows closed until you are sure the headliner is dry.
Brush and inspect the final result
Once the headliner is dry, use a soft-bristle brush to gently sweep the fabric in one direction. This restores the nap and removes any lint or dried cleaner residue. Work slowly and check for any areas that look different, such as darker patches or lifted edges. If you see a lifted edge, do not press it hard; instead, note it and consider a small amount of fabric adhesive applied with a syringe if you are comfortable doing that. This final check matters because it catches problems while they are small. If the fabric looks clean and even, you are done. If not, you can repeat the cleaning process after a day, but never over-wet the same spot twice in one session. A gentle brush also helps the headliner look fresh and uniform.
Quick Reference
| Situation | Action | Why it helps |
|---|---|---|
| You notice a small fresh stain from a spilled drink | Blot the stain immediately with a clean, dry cloth, then apply a tiny amount of foam cleaner to a cloth and gently dab the area, followed by a wipe with a barely damp cloth and immediate drying. | Acting fast prevents the liquid from soaking into the adhesive and spreading, while gentle dabbing avoids pushing the stain deeper or damaging the fabric fibers. |
| The headliner has a musty smell after cleaning | Check that the area is completely dry by touching it, then leave the windows open and use a fan or dehumidifier for several hours until no moisture remains. | Musty odors come from trapped moisture that can also weaken the glue, so thorough drying is essential to prevent both smell and sagging. |
| You see a small section of fabric starting to lift | Stop cleaning that area, let it dry fully, and if it remains lifted, consult a professional or use a fabric adhesive designed for automotive headliners according to its instructions. | Lifted fabric means the adhesive is already stressed, and continuing to wet it will make the separation worse; early repair can save the whole headliner. |
Common Issues
- Water rings or dark spots appear after cleaning: These are often caused by over-wetting. Dampen a clean cloth with distilled water and wipe the entire area evenly to blend the edges, then dry immediately with a fan. In the future, use less moisture and dry each section as you go.
- The fabric feels rough or pilled after scrubbing: Stop scrubbing. Use a soft-bristle brush to gently smooth the nap, and avoid any further wet cleaning. If pilling is severe, a fabric shaver on the lowest setting can help, but test it on a hidden spot first.
- Cleaner leaves a sticky residue that attracts dust: Mix one part white vinegar with three parts distilled water, dampen a cloth, and wipe the area to remove residue, then wipe again with plain distilled water and dry thoroughly. Vinegar helps break down soap film without harsh chemicals.
Advanced Tips
- Use a steamer designed for fabrics, but keep it at least six inches from the headliner and move constantly; the heat can loosen dirt, but too much steam will soak the glue.
- For very delicate or antique headliners, consider dry-cleaning methods like gentle absorbent powder sprinkled on, left for an hour, then vacuumed away with a brush attachment.
- After cleaning, apply a fabric protectant spray made for upholstery to help repel future stains, but test it first and follow the label for drying time.
Final Checklist
- Confirm the headliner is completely dry to the touch before closing the doors and windows.
- Check for any lifted edges or bubbles and note them for repair if needed.
- Vacuum the carpets and seats to remove any dirt that fell during cleaning.
- Make sure no cleaner residue remains by wiping with a distilled-water-dampened cloth and drying again.
FAQ
Can I use a regular household cleaner on my headliner?
It is risky. Many household cleaners contain solvents or bleach that can discolor or weaken the fabric and its adhesive. Use a product specifically labeled for automotive upholstery, and always test it on a hidden area first. If you are unsure, plain distilled water with a microfiber cloth is the safest choice for light dust.
How do I prevent the headliner from sagging after cleaning?
The key is to control moisture. Never soak the fabric; use a barely damp cloth and dry each section immediately with a clean towel and a fan. If you accidentally over-wet a spot, dry it right away with cool air. If sagging already exists, a professional can re-glue the headliner, but prevention is much easier.
What should I do if the stain does not come out after one try?
Do not scrub harder. Let the area dry completely, then try again the next day with a fresh approach. Sometimes stains need multiple gentle treatments. If it still remains, consider a professional detailer who has specialized products and experience with delicate headliners. Avoid using harsh chemicals or excessive moisture.