Paint Protection After Washing A Daily Driver Checklist For First Time Readers
A practical step-by-step guide to paint protection after washing a daily driver checklist for first-time readers, including preparation, instructions, common issues, tips, and next steps.
Paint Protection After Washing A Daily Driver Checklist For First Time Readers
This guide walks first-time readers through a practical paint protection routine to use after every wash of a daily driver. It covers preparation, a six-step process, quick-reference tips for common situations, problem-solving, and advanced advice. The focus is on simple, repeatable actions that preserve clear coat, minimize swirl marks, and keep the paint looking fresh for years. You'll learn what products to have on hand, how to dry safely, when to apply spray sealants or wax, and how to maintain protection between washes. The guide assumes no prior detailing experience and emphasizes gentle techniques, proper materials, and consistent habits.
Fast Answer
- After washing, always dry the car with a soft microfiber towel using a blotting motion, then apply a spray sealant or wax while the paint is cool and shaded. This adds a protective layer that repels water and contaminants.
- Keep a separate bucket with clean water and a grit guard for rinsing your mitt, and change your drying towel frequently to avoid dragging dirt across the paint. This reduces the risk of micro-scratches that dull the finish.
Before You Start
- Gather two clean microfiber drying towels, a spray wax or sealant, a microfiber applicator pad, and a spray bottle of quick detailer. Ensure all items are free of debris and stored in a clean, closed container.
- Park the car in a shaded area and wait for the paint to be cool to the touch—direct sunlight or a hot engine can cause products to dry too quickly and leave residue.
- Check your washing bucket for grit or dirt; if it has a grit guard, use it. Also, rinse your wash mitt in the clean rinse bucket before you begin any protective step.
- Have a clean, dry area nearby where you can place the drying towels after use, and consider having a second set of towels ready if the first set becomes soaked or dirty.
Step-by-Step Instructions
Prepare the Paint and Products
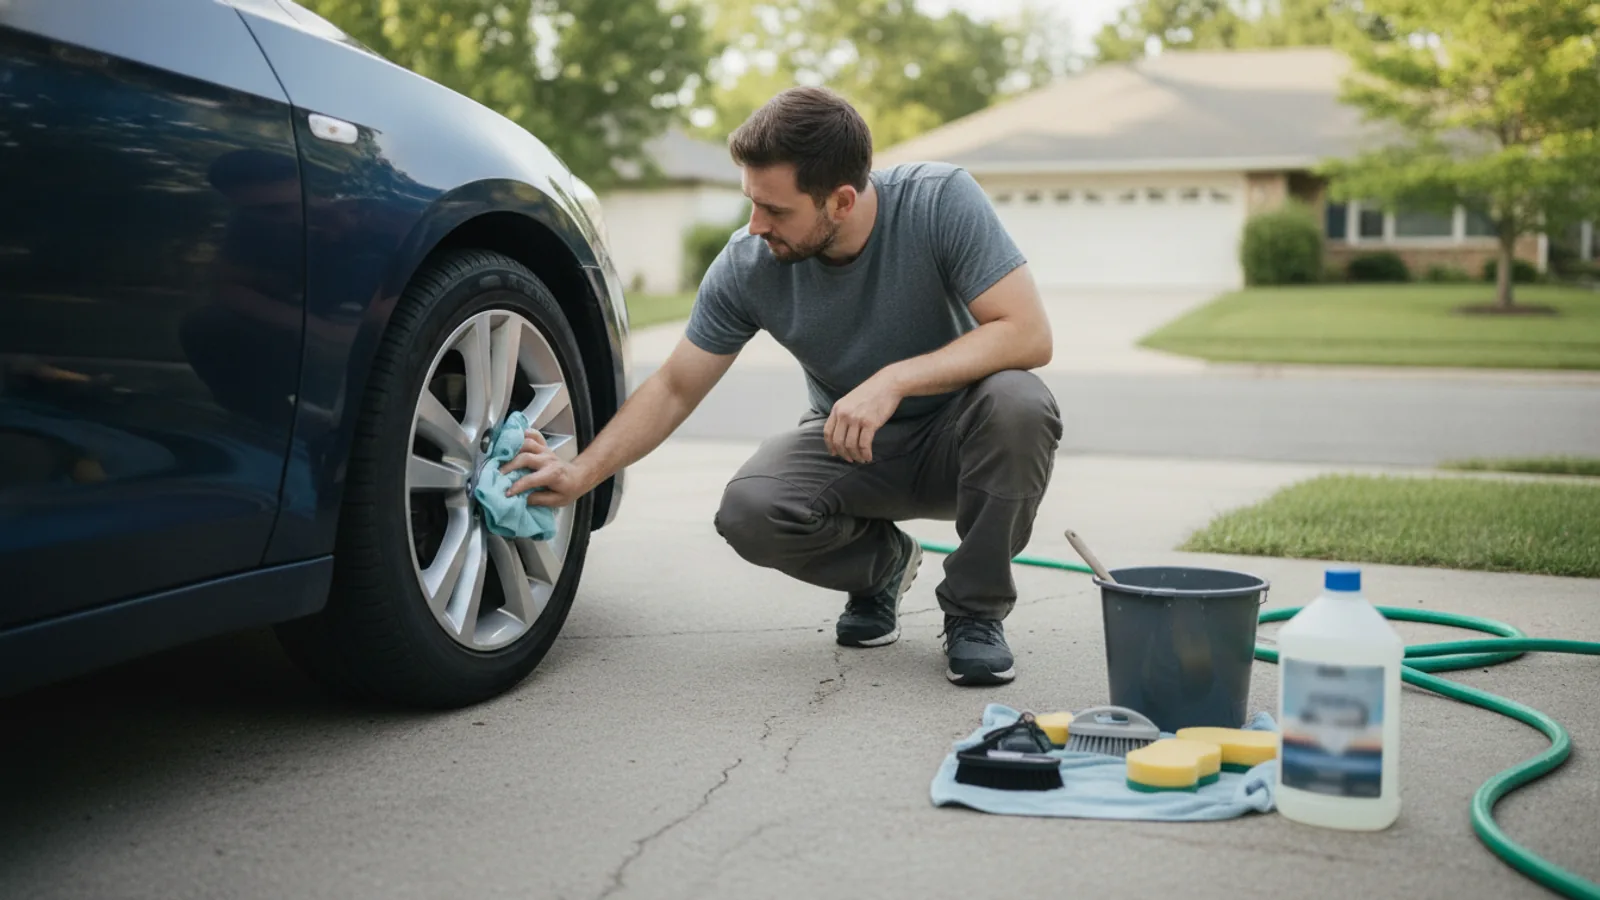
Start by ensuring the car is in a shaded, dust-free area and the paint is cool to the touch. Set out your drying towels, spray sealant or wax, applicator pad, and quick detailer within easy reach. Give the wash bucket a quick rinse to remove any settled grit, and fill a second bucket with clean water for rinsing your mitt if you haven't already. Check that your towels are clean and free of any debris by running your hand over them; even a small piece of dirt can cause micro-scratches. If you washed the car earlier, perform a quick 'baggie test' by running a plastic sandwich bag over the paint—if it feels rough, you may need to clay bar, but that's beyond this guide. For now, simply wipe down the surface with a spray detailer to remove any water spots or light dust. This preparation is crucial because a clean, cool surface allows the protective product to bond evenly and dry properly, which maximizes its durability and gloss.
Dry the Paint with Blotting Motions
Take a clean, dry microfiber towel and fold it into quarters. Place the towel on the surface and press down gently, letting the towel absorb water without rubbing or dragging. Work in small sections, moving from the top of the car downward. Lift the towel, reposition to a dry section, and continue. Do not let the towel become saturated; when it feels damp, switch to the other side or grab a fresh towel. For tight areas like mirrors and door jambs, use a patting motion with a corner of the towel. The goal is to remove all water droplets without any lateral movement that could grind in dirt. This blotting technique is essential because rubbing or wiping can cause micro-scratches from any residual particles, which will dull the paint over time. Take your time, and ensure the entire surface is dry before moving to the next step.
Apply a Spray Sealant or Wax
Shake the sealant or wax bottle according to the instructions. Spray a light mist onto a small section, about two square feet, of the paint. Use a clean microfiber applicator pad to spread the product evenly over the surface in straight lines or circular motions. Work one section at a time, ensuring complete coverage without over-applying. The paint should have a thin, even film—you should barely see the product. Let it haze briefly, usually for a minute or two, then buff it with a clean, dry microfiber towel using gentle pressure. Continue this process across the entire car, including door edges and the trunk lid, but avoid rubber and plastic trim unless the product is safe for those surfaces. Applying a protective layer is important because it creates a hydrophobic barrier that makes future washing easier, reduces water spotting, and shields the clear coat from UV rays and minor contaminants.
Buff the Surface for a Streak-Free Finish
After letting the sealant or wax haze, take a fresh, dry microfiber towel and gently buff the surface using a straight back-and-forth motion or a light circular motion. Use moderate pressure to remove any residue, but avoid pressing too hard, which can cause streaks. Flip the towel frequently to a clean side to avoid reapplying product. Work in the same order you applied the product, and inspect each panel from an angle to catch any missed spots or smears. If you see a streak, mist a little quick detailer on a towel and lightly wipe the area. Once the entire car is buffed, run your fingers over the paint—it should feel smooth and slick. This buffing step ensures that the protective layer is even and that no excess product remains, which could attract dust or cause a hazy appearance. A proper buff also enhances the gloss and depth of the paint, giving it a professionally detailed look.
Inspect the Paint for Imperfections
Walk around the car and examine the paint under good lighting, preferably natural light. Look for any areas that appear dull, streaked, or missed, such as door handles, side mirrors, and the hood. Check if water beads up on the surface—if it does, the protection is working. If you find a spot that didn't get coated, reapply a small amount of product to that section and buff it out. Also, inspect the edges of panels and crevices where product might have pooled and dried, leaving a white residue. Use a damp microfiber towel to gently wipe away any excess. This inspection is vital because overlooking a small area can lead to uneven protection and make that section more vulnerable to environmental damage. It also helps you catch any issues early, such as a scratch or chip that you might need to address with touch-up paint or a professional.
Maintain the Protection Between Washes
To keep the paint protected between full washes, use a quick detailer spray after a rinse or when you notice dust or water spots. First, ensure the car is cool and shaded, then spray a light mist onto a microfiber towel or directly onto the surface. Wipe gently with a clean microfiber cloth using light, even strokes. This will lift light dirt without scratching and refresh the sealant. For heavy dirt, a waterless wash product is better, but always test in an inconspicuous area first. Also, avoid parking under trees or near construction sites, and use a car cover if you park outdoors for long periods. Regularly check the protection by spraying water on the hood—if it beads and rolls off, the coating is still active. If the water flattens, it's time to reapply your spray sealant. This routine maintenance extends the life of your protection, reduces the need for frequent full washes, and keeps the paint looking vibrant.
Quick Reference
| Situation | Action | Why it helps |
|---|---|---|
| Water spots appear after the car dries from a rain shower. | If the water spots are light, mist the area with a quick detailer and gently wipe with a microfiber towel. For stubborn spots, use a dedicated water spot remover, following the instructions on the label. Do not rub aggressively. | Quick detailer contains surfactants that lift mineral deposits without scratching. Water spots are acidic and can etch the clear coat if left for long, so prompt action is safe and effective. |
| Bird droppings are found on the hood. | Remove them immediately by soaking a microfiber towel in warm, soapy water (use car wash soap), place it over the droppings for a couple of minutes to soften, then gently wipe away. Wash the area and reapply a small amount of sealant. | The acids in bird droppings can damage the clear coat within minutes. Softening before wiping prevents grinding the abrasive particles into the paint, and re-applying protection restores the barrier. |
| You notice fine scratches or swirl marks after washing. | Stop using any abrasive products and switch to a higher-quality microfiber towel and a dedicated car shampoo. If the swirls are light, a gentle machine or hand polish can remove them, but for a daily driver, consider a paint sealant to fill them and protect the surface. | Swirl marks are caused by improper washing techniques or contaminated towels. Using safer tools and adding a filler-based sealant can improve appearance while you focus on a more careful routine. |
Common Issues
- Protective product leaves white residue on black trim.: Before applying any wax or sealant, mask off the trim with painter's tape, or use a product specifically designed for trim. If residue appears, use a trim detailing product or a small brush with a mixture of water and isopropyl alcohol (50/50) to gently remove it, then reapply a plastic-safe dressing.
- Paint feels rough even after washing and protecting.: This indicates bonded contaminants like tree sap, industrial fall out, or overspray. You need to clay bar the surface by spraying a detailing spray as lubricant and gently gliding a clay bar over the paint. Follow up with a sealant to restore smoothness and protection.
- Streaks appear after the sealant dries.: Streaks often occur when the product is applied too thickly or in hot conditions. Use a quick detailer on a microfiber towel to lightly wipe the streaks. In the future, apply a thinner layer and work in a cooler environment, and always buff thoroughly.
Advanced Tips
- If you park outdoors, use a spray sealant with UV inhibitors to reduce sun fade, and consider using a quick detailer that contains SiO2 (silica dioxide) to boost gloss and durability.
- For a daily driver, use a two-bucket wash method for every wash to minimize swirls. However, if you're short on time, a quality spray sealant can be applied over a 'rinseless wash' as long as you use enough lubrication.
- Layer protection: after your spray sealant cures (about an hour), apply a second thin coat. This can enhance durability and give a deeper shine, but do not overdo it—two thin coats are better than one thick coat.
Final Checklist
- Park in shade and ensure paint is cool before drying or applying protection.
- Use clean, dedicated microfiber towels for drying and buffing, and replace them when they become dirty or worn.
- Apply spray sealant or wax in thin, even layers and allow it to haze before buffing.
- After the procedure, test the protection by spraying water on the hood and confirm it beads. If not, reapply a thin coat.
FAQ
How often should I apply a spray sealant or wax after washing?
For a daily driver, applying a spray sealant every wash (usually once every one to two weeks) is a good habit. However, if you use a quality spray sealant, it may last up to a month. A simple test is to see if water beads on the hood. If it flattens, it's time to reapply. Keep track of your last application date.
Can I use the same towels for drying and applying protection?
It's best to use separate towels for drying and for applying or buffing sealant. Drying towels often have a different weave and may retain more dirt, while applicator pads and buffing towels should be clean and free of any residues. Using separate sets prevents cross-contamination and ensures consistent results.
What if I don't have a garage or shaded area to wash my car?
If you must wash in sunlight, work on a cool morning or evening, and dry the car as quickly as possible. Apply protection in patches, buffing each section before moving on, to avoid heat-induced streaking. Also, use products that can be applied in direct sun if stated on the label.