What To Check Before A Compact Garage Kit For Regular Car Maintenance
A practical step-by-step guide to what to check before a compact garage kit for regular car maintenance, including preparation, instructions, common issues, tips, and next steps.
What To Check Before A Compact Garage Kit For Regular Car Maintenance
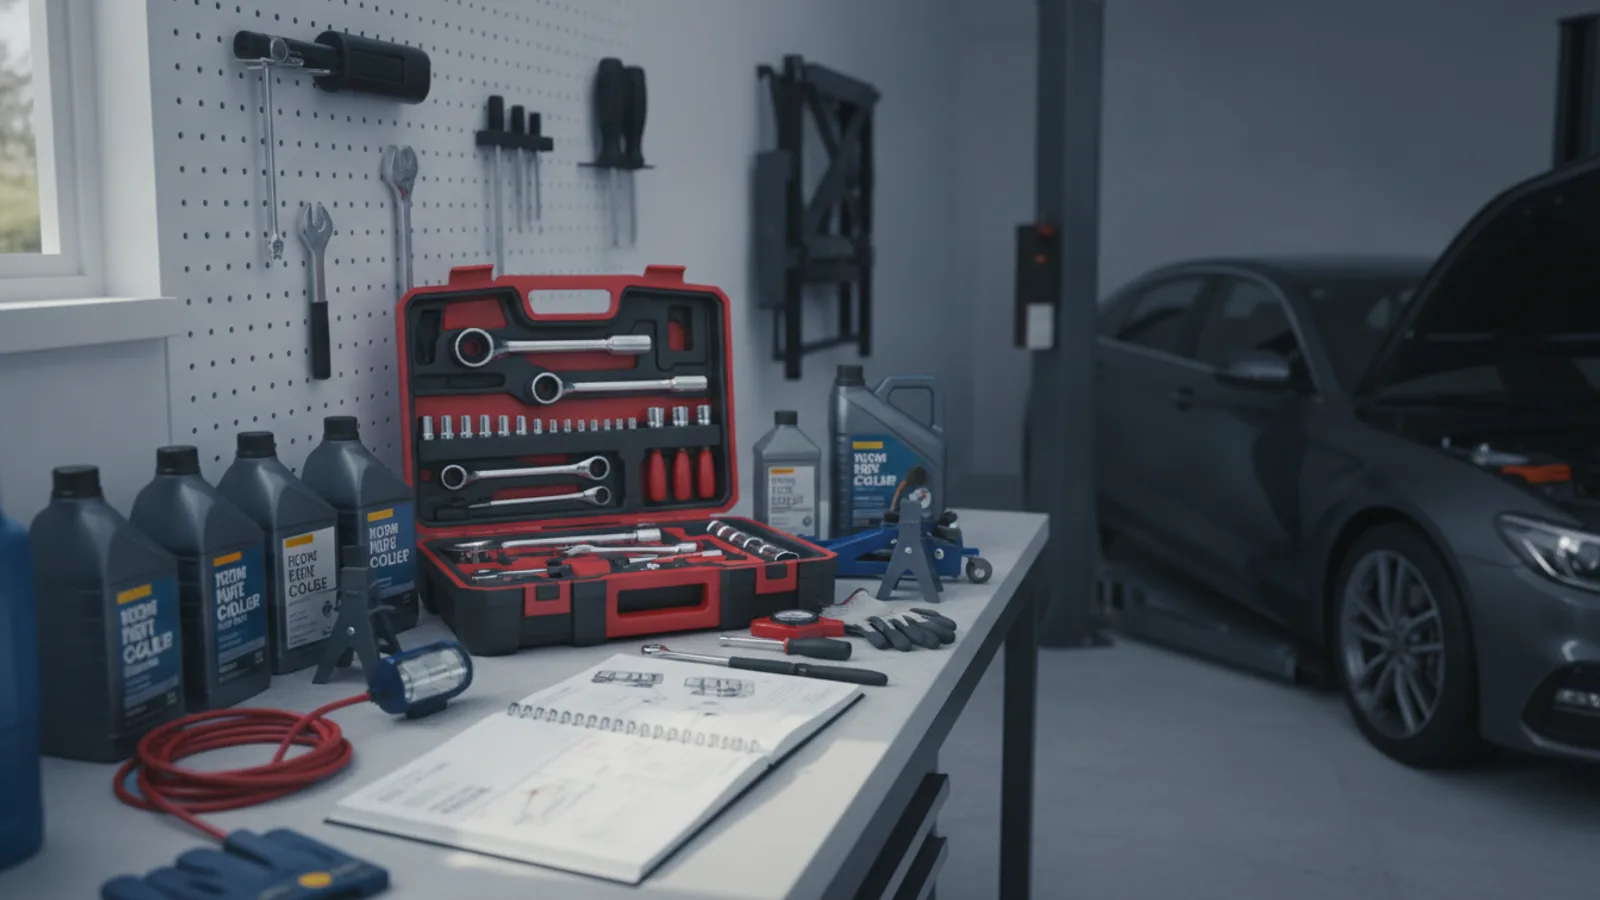
Before you assemble a compact garage kit for regular car maintenance, it is essential to verify that the tools and supplies you include are the right ones for your specific vehicle and planned tasks. A well-prepared kit saves time and keeps you safe when you need to perform basic checks or minor repairs. This guide walks you through the key points to review, from checking your car's owner manual and tool sizes to confirming the condition of your jack and safety equipment. It also helps you choose the right fluids, batteries, and lighting. By following these steps, you ensure your kit is practical and ready for the jobs you are most likely to face.
Fast Answer
- Check your vehicle's owner manual for specific tool sizes, jack points, and fluid types, then gather tools that match those requirements. Verify that every tool and supply is in good condition and stored in a clear, labeled container.
- Inspect your existing tools for damage or rust, confirm that you have the right socket sizes and wrenches for your car's nuts and bolts, and ensure your safety gear like gloves and goggles are clean and functional. Also, verify tire pressure and brake fluid levels before starting.
Before You Start
- Check the owner's manual for torque specs, jacking points, and fuel type, and note any special tools or socket sizes needed for your vehicle's make and model.
- Inside the manual, find the recommended service intervals and type of motor oil, coolant, brake fluid, and windshield washer fluid, then record these in a small notebook or label them on the kit's lid.
- Choose a sturdy, water-resistant container that is large enough to hold all items securely, with dividers to prevent tools from rolling around.
- Collect basic safety equipment: a reflective warning triangle, a high-visibility vest, and work gloves, and place them in an outer pocket for easy access.
Step-by-Step Instructions
Review Your Owner's Manual
Your owner's manual is the single most important document for maintaining your car. It lists every fluid specification, from engine oil grade to coolant type, and also gives you torque specs for lug nuts, important for wheel removal and installation. Each car has unique jacking points, often indicated with small notches or arrows on the underbody. Using the wrong point can crush the frame or damage the rocker panels. Additionally, note the recommended tire pressure for front and rear tires, and any special instructions for your vehicle's engine or transmission. A manual with clear notes will help you avoid buying the wrong parts or fluids. Make a list of all needed items and keep it inside your kit, so you can quickly check your plan before starting any job. If you no longer have a paper manual, many vehicle information databases allow you to download a copy from the manufacturer’s official website.
Take Stock of Existing Tools
Open your current tool collection and inspect each piece. Look for rust, chips, cracks, or a loose fit on a fastener. A worn 10mm socket that spins on a bolt will strip the head and ruin your job. Wrenches should be clean and free of oil. Verify that you have a complete set of metric and standard sockets, ratchets, extensions, and wrenches. Most modern cars use metric sizes, but older cars or some models use standard. Determine what sizes you use most often by checking the diameter of major fasteners under the hood and on the wheels. You will also need a screwdriver set with both flathead and Phillips bits, and maybe a Torx set. Test the ratchet to ensure it clicks in both directions and does not skip. If you find any damaged tool, either replace it or remove it from the kit to avoid frustration when you need it.
Select the Right Fluids
Fluids are the lifeblood of your vehicle, and using the wrong type can cause immediate damage or reduce performance. Check your owner's manual for the exact specifications of engine oil, coolant, brake fluid, and windshield washer fluid. For example, many newer cars require a specific oil viscosity like 0W-20, and using a thicker oil may harm fuel efficiency. Brake fluid is especially sensitive: use DOT3, DOT4, or DOT5.1 as specified, and never mix different types because they react with each other. Also, note that coolant is not universal; some cars use an organic acid technology formula that should not be mixed with an older formula. Store your fluids in the kit in sealed, clearly labeled containers. Regularly inspect the fluid levels in your car and top off as needed, but always use the fluid that meets the manufacturer's specification. If you are unsure, buy a small container of the recommended type and keep it sealed until you need it.
Inspect Jack and Safety Gear
A reliable jack and quality safety stands are non-negotiable for any tire change or brake work. Begin by examining the jack that came with your car—often a scissor type. Test that it raises and lowers smoothly with the handle. Look for any bent arms or leaking fluid in a hydraulic jack. Even a factory jack can fail after years of trunk heat and humidity. If you have a separate floor jack, check its rated capacity and ensure it is higher than the weight of your car. The owner's manual will tell you the correct jacking points—you'll see reinforced areas on the frame under the car. Use rubber jack pads to avoid damaging the pinch welds. Never rely on a jack alone; always set jack stands under the car before you put any body part underneath. Practice positioning the stands once so you know how to do it quickly.
Verify Lighting and Batteries
Good lighting is essential for seeing what you are doing, but it is also a safety issue if you need to work at dusk or night. Your kit should have a work light powerful enough to illuminate the engine bay or undercarriage. Before you stow it, test it by turning it on and shine it on various parts of the car. If the light uses batteries, install fresh ones and keep a spare set in the kit. Remove the batteries if you store the kit for several months so they do not leak and corrode the connectors. Check that the light has a stable base or a hook to hang it, and that the beam direction is adjustable. Also consider a headlamp for hands-free work, but make sure its strap is intact. Finally, inspect the condition of the light's charging cable if it is rechargeable, and consider a power bank that can jumpstart your car or charge a phone in an emergency.
Check Consumable Supplies
Consumables are the smaller items that you will use and replace regularly. Start with tire pressure gauge—make sure it is accurate by checking it against a known-source or a digital gauge. Then inspect the tread depth and sidewalls of your tires for any cuts or bulges. If you have a portable tire inflator, test it to ensure it powers on and reaches the correct pressure. Motor oil is a common consumable: check your engine oil level using the dipstick, and if it is low, top off with the correct type. Also carry a bottle of brake fluid, but check the date on it because brake fluid absorbs moisture over time. Windshield washer fluid should be topped off with a formula suitable for your climate. Finally, ensure you have a few clean rags and a pair of nitrile gloves to keep your hands clean and protect from fluids. Consumables may have a limited shelf life, so check expiration dates if any.
Quick Reference
| Situation | Action | Why it helps |
|---|---|---|
| You are about to change a flat tire on the side of the road. | Park on level ground, turn on hazards, set the parking brake, place wheel chocks behind the opposite wheels, then place the jack under the proper jack point and raise the car. Once raised, put a jack stand underneath before loosening the lug nuts. Remove the flat, replace with the spare, tighten the lug nuts in a star pattern, and lower the car slowly. | Using the correct jack point and a stand prevents the car from falling, and a star pattern even torque prevents brake rotor distortion. |
| You need to check the engine oil level but the engine is warm. | Wait for the engine to cool for at least 10 minutes after driving, then pull the dipstick, wipe it clean, reinsert it fully, and pull it out again to read the level. If the level is below the minimum mark, add a small amount of the correct oil type, then recheck. | Oil expands when hot, giving a false high reading, and letting it settle ensures that the dipstick measures the actual oil level. |
| Brake pedal feels soft or spongy when you press it. | First, check the brake fluid level in the reservoir; if it is low, add the recommended type and recheck for leaks. Then, with the car off, pump the brake pedal several times to build pressure. If the pedal still feels spongy, do not drive the car—call a professional mechanic immediately. | A soft pedal indicates a possible leak or air in the brake lines, which can lead to brake failure and is extremely dangerous. |
Common Issues
- Tools seem to rust quickly, especially sockets and wrenches.: After each use, wipe them with a dry cloth, and apply a light coating of oil or rust inhibitor. Store them in a sealed bag or tool wrap to keep moisture out, and consider using silica gel packs inside the kit container to absorb humidity.
- Tire gauge gives inconsistent readings, so you aren't sure your tires are properly inflated.: Replace the gauge with a high-quality digital gauge, and test it against a known-calibrated gauge at a gas station or a friend's car. If you carry a portable inflator, check its accuracy by comparing its pressure display to your gauge.
- You often forget to check spare tire pressure, so when you need it, it's flat or underinflated.: Add a reminder on your phone or calendar to check the spare tire's pressure every month, just like you would the main tires. Also, inspect the spare for any signs of dry rot or damage, and ensure the jack and lug wrench are in the kit.
Advanced Tips
- Label the manufacturer date on every sealable fluid bottle, and replace them if the seal is broken or if they are beyond the expiration date, as fluids degrade and can harm your engine.
- Use a bench grinder or hand file to dress the edges of damaged wrenches and sockets, but if the tool is severely worn, replace it to avoid rounding off nuts.
- Consider adding a compact torque wrench to the kit to ensure you can properly tighten lug nuts and other fasteners to the exact specification after any tire rotation, preventing both over-tightening and under-tightening.
Final Checklist
- Verify that all fluids are present and within their recommended levels, and that their containers are sealed and labeled.
- Confirm that the jack and jack stands are inspected for damage, function correctly, and are rated for your vehicle's weight.
- Ensure that all tools, including sockets and wrenches, are clean, rust-free, and the correct size for your car's fasteners.
- Check that you have a working flashlight, tire pressure gauge, and spare tire, and that you have safely stowed all items in the kit container.
FAQ
What is the most important thing to check before using a compact garage kit?
The most important is that your tools match the specific fasteners on your car. Many cars use metric bolts, while others use standard, and using the wrong socket can strip the bolt head. Also, verify your jack and jack stands are in working condition and rated for your vehicle's weight, because safety is paramount.
Can I use any motor oil in my car if I don't have the exact type?
No. Your engine is designed to run on a specific oil viscosity and quality, like 5W-20 or 0W-20, and using the wrong type can lead to increased wear or poor fuel economy. Always consult the owner's manual and use the recommended oil, and if you are in a pinch, avoid driving long distances until you can get the correct oil.
Why is it important to check the spare tire pressure in my kit?
The spare tire often sits unused for months, and it can lose pressure or develop cracks. If you have a flat, you might find your spare is flat as well, leaving you stranded. So check the spare's pressure at least once a month and inspect it for damage, so it is ready when you need it.