How To Plan Removing Road Film From Exterior Trim Safely
A practical step-by-step guide to how to plan removing road film from exterior trim safely, including preparation, instructions, common issues, tips, and next steps.
How To Plan Removing Road Film From Exterior Trim Safely
Road film is a stubborn mix of oil, grease, tar, and minerals that clings to exterior trim. Removing it safely requires a gentle, staged approach that lifts contaminants without scratching plastic, rubber, or painted surfaces. This guide explains how to prepare your vehicle, choose the right products, work through each trim section methodically, and finish with protection. You will learn practical techniques, common mistakes, and advanced refinements to keep trim looking restored without harming surrounding materials.
Fast Answer
- Start by washing the entire exterior with a dedicated car wash soap and water, then dry the trim areas thoroughly so you can see exactly where the road film remains before deeper cleaning.
- Apply a safe, non-abrasive cleaner such as a dedicated trim cleaner or diluted isopropyl alcohol to a microfiber towel and gently rub the affected trim, working in small sections and rinsing often to avoid smearing.
Before You Start
- Park your vehicle in a shaded, cool area and let the trim cool completely if the vehicle has been driven recently. Hot surfaces cause cleaners to evaporate quickly and may etch plastic.
- Gather a pH-neutral car wash soap, a soft wash mitt, clean microfiber towels, a dedicated trim cleaner or diluted isopropyl alcohol, a soft-bristled brush (old toothbrush works), and a trim protectant for finishing.
- Rinse the entire vehicle with plain water to loosen loose dirt and grit. Then wash the trim areas gently using the car wash soap and a wash mitt, following your usual safe washing method to prevent scratching.
- Dry the trim and surrounding paint with a clean microfiber towel so you can accurately assess which areas have heavy road film. Do not wipe the trim with the same towel used for paint, as trapped grit could scratch.
Step-by-Step Instructions
Begin with a thorough rinse and hand wash
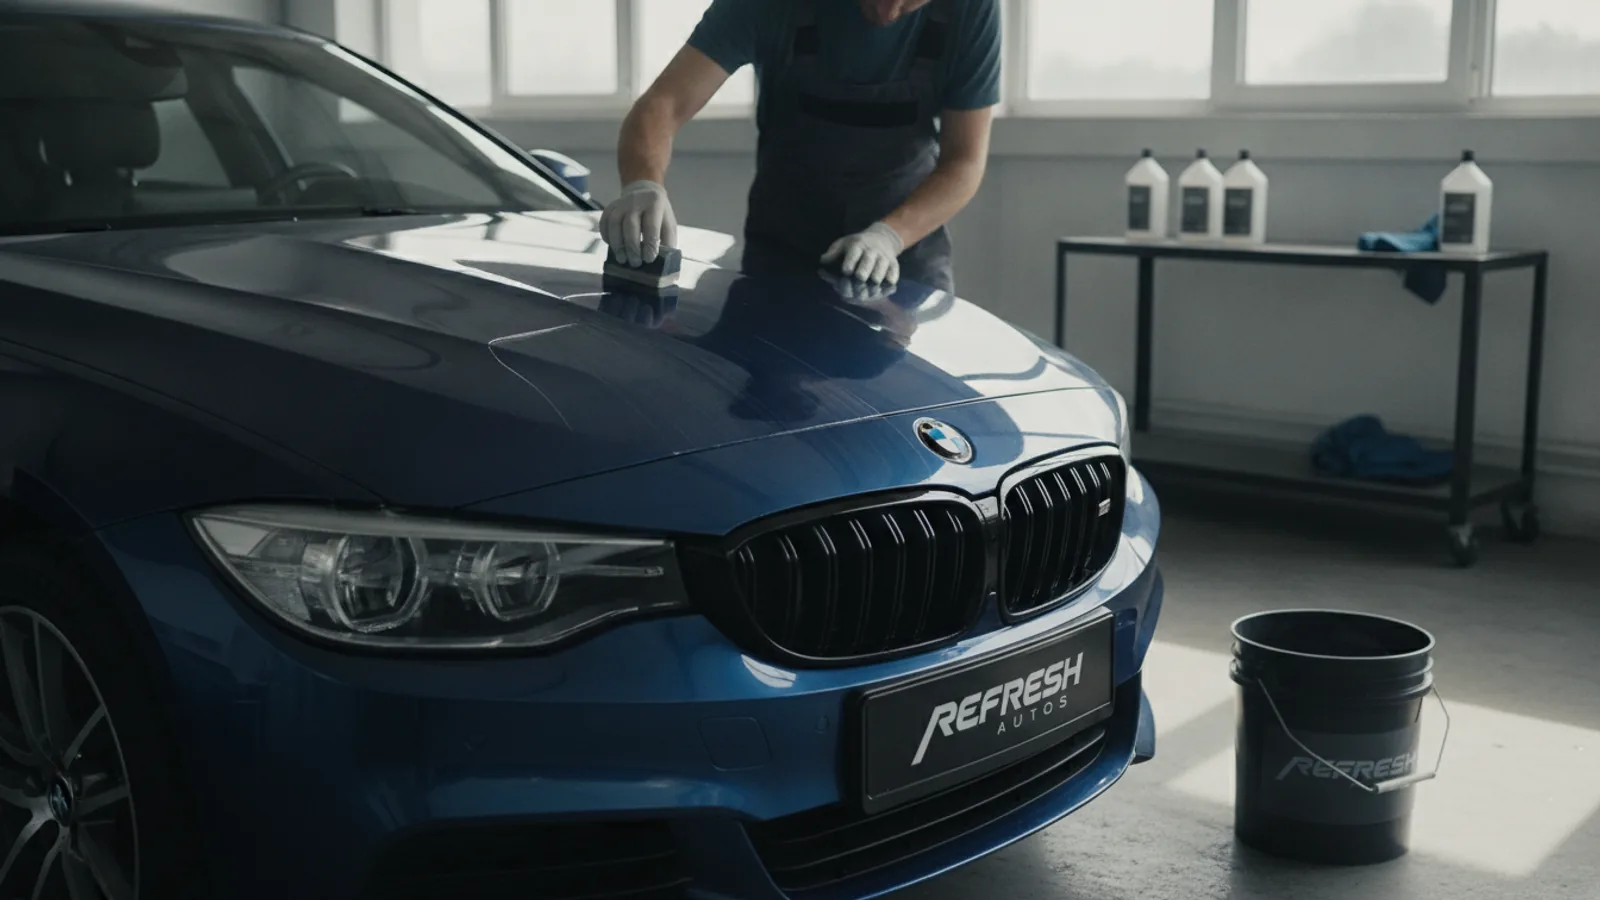
Start by rinsing the entire vehicle with a strong stream of plain water to remove loose dirt, dust, and the top layer of road film. Pay special attention to lower panels, wheel wells, and trim around windows, as these areas accumulate the most grime. Then, using a pH-neutral car wash soap mixed according to the label, wash the whole vehicle from top to bottom with a soft wash mitt. Use straight, overlapping strokes rather than circles to minimize the chance of embedding grit into the paint or trim. Rinse the mitt often in a separate bucket of clean water to avoid dragging dirt across surfaces. After washing, dry the trim areas with a clean microfiber towel so you can see exactly where the remaining road film sits. This initial wash is crucial because it removes loose contaminants that could scratch surfaces during the deep cleaning that follows. If you skip this step, you may push grit into the trim and cause permanent damage.
Spot-test your chosen cleaner on a hidden area
Before applying any cleaner to your visible trim, test it on a small, inconspicuous area such as the inside edge of a wheel well or behind a license-plate mount. Apply a small amount of your chosen cleaner—either a dedicated plastic and rubber cleaner or a diluted isopropyl alcohol solution (one part alcohol to three parts water)—to a microfiber towel and gently rub the test spot. Wait a few minutes and check for any color change, hazing, or stickiness. If the trim remains unchanged and looks clean, the product is safe to use. If you notice any discoloration or a chalky residue, discontinue use and choose a milder cleaner. This test is essential because exterior trim can be made of many different materials and may have a factory coating that reacts poorly to some chemicals. A quick test prevents an irreversible mistake over a large, visible area. Even if your trim seems sturdy, factory finishes vary, and a failed test could mean costly replacement or repainting.
Treat heavy road film with a dedicated cleaner
For trim areas with a thick, greasy layer of road film, apply a dedicated plastic or rubber cleaner directly to a microfiber towel, not to the trim itself, to avoid overspray on painted surfaces. Work in a small section, about the size of your palm, and use firm but gentle pressure in a back-and-forth motion. The cleaner will emulsify the oils and lift the film from the surface. Immediately wipe away the loosened grime with a second clean microfiber towel before moving to the next section. Rinse the area with water if the cleaner instructs you to do so, then dry with a fresh towel. If the road film is particularly stubborn, you may need to repeat the process two or three times, allowing the cleaner to dwell for the time recommended on the label—typically 30 to 60 seconds—but never let it dry completely. This step removes the bulk of the contamination and prepares the trim for the final precision cleaning.
Use a soft brush for textured surfaces
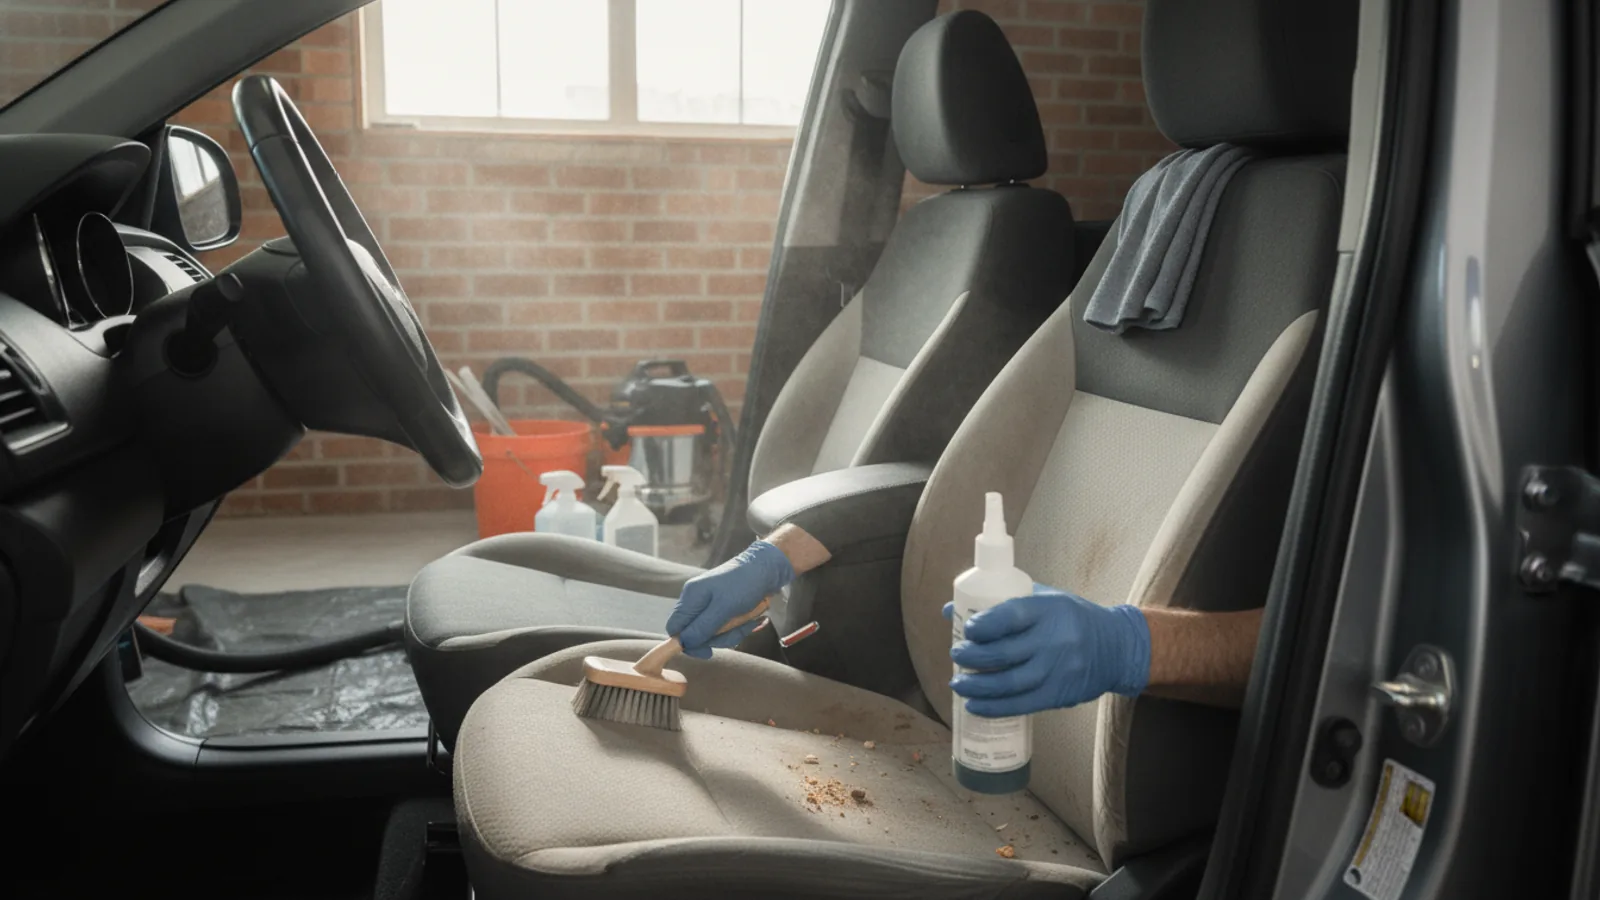
Textured trim, such as the grained plastic on rocker panels or side moldings, traps road film in its recesses, making it difficult to clean with a towel alone. Take a soft-bristled brush, such as a clean toothbrush or a dedicated detailing brush, and dip it in your cleaning solution. Gently scrub the textured areas using a circular motion, working the solution into the grain. Be careful not to press too hard, as the bristles can scratch smooth plastic if you apply excessive force. After scrubbing each section, wipe the area with a microfiber towel to remove the loosened dirt, then rinse with water and dry. Check your progress by running a finger over the texture—it should feel smooth and free of oily residue. If you still feel grime, repeat the scrubbing on that section. This attention to detail ensures that all the road film is lifted, not just the surface layer, leaving your trim looking uniformly clean.
Rinse and inspect every trim section carefully
Once you have cleaned all the trim areas with the cleaner and brush, rinse the entire vehicle with clean water to wash away any residual cleaning chemicals. Pay special attention to the lower parts of the car, where dirt tends to accumulate. After rinsing, dry the trim with a clean, soft microfiber towel. Then inspect every trim piece closely in natural light. Look for remaining streaks, hazy spots, or areas that still look darker or greasier than the surrounding material. If you find any missed sections, reapply the cleaner and work them again. The key is to achieve an even, clean appearance before you move on to protection. Do not rush this inspection, because leftover cleaner residue could attract more dirt later or cause the trim to look blotchy. A careful inspection now will save you from having to redo the entire process. Walk around the vehicle and check each area: window surrounds, door handles, side mirrors, rocker panels, and the rear hatch or trunk seams.
Apply a protective dressing to nourish and shield
After the trim is clean and completely dry, apply a trim protectant or dressing designed for exterior plastic and rubber. Choose a product that offers UV protection to slow fading and cracking. Apply a small amount to a clean applicator pad or microfiber towel and spread it evenly over the trim in a thin, uniform layer. Avoid getting the dressing on painted or glass surfaces, as it can cause streaks. Work in small sections and buff lightly with a separate dry towel to remove any excess product. Allow the dressing to cure according to the product's instructions before exposing the vehicle to rain or washing. This step is vital because it replenishes the oils lost during deep cleaning and creates a hydrophobic barrier that helps repel new road film. Applied correctly, the dressing will make your trim look rich and dark, and will make future cleaning much easier. Reapply the dressing periodically, as the elements will gradually wear it away.
Quick Reference
| Situation | Action | Why it helps |
|---|---|---|
| Trim is heavily coated with black, greasy road film that doesn't come off with normal car soap. | Use a dedicated plastic or rubber cleaner applied to a microfiber towel, work in small sections, then rinse and wipe dry. If needed, use a soft brush and repeat. | Dedicated cleaners are formulated to break down oily grime without harming trim, and working in small sections prevents the product from drying before wiping. |
| Trim has fine white or chalky streaks after cleaning, indicating that the surface may be drying out or etched. | Apply a high-quality trim dressing with UV protectants, working it into the trim with a soft cloth, then buff off excess. If the chalkiness persists, reapply after a few days. | A dressing replenishes moisture and oils lost during cleaning, and its UV filters help prevent further fading, restoring the trim's dark color. |
| You see leftover road film in the grooves of textured plastic trim, even after wiping with a towel. | Dip a soft-bristled brush (like a toothbrush) into your cleaner and gently scrub the textured areas in a circular motion, then wipe clean and rinse. | Bristles reach into the recesses that a towel cannot, lifting the embedded grime from the texture and giving a thorough clean. |
Common Issues
- After cleaning, some trim areas look blotchy or discolored, with uneven darker patches.: This usually happens when the cleaner was left on too long or not rinsed off completely. Wash the entire trim area again with plain water, then dry thoroughly. If the blotchiness remains, apply a trim dressing to even out the color.
- You accidentally used a heavy-duty degreaser on the trim, and now it appears dull or chalky.: Rinse the trim immediately with lots of water to dilute any residue. Once dry, apply a restorative trim dressing several times over the next few days, allowing each coat to soak in. If the damage is severe, you may need to carefully polish with a plastic restorer, following its instructions.
- The trim cleaner left a white, powdery residue on the surrounding paint.: If the residue is dry, wash the affected paint with a pH-neutral car soap and water. If it doesn't come off easily, use a dedicated tar remover or a small amount of isopropyl alcohol on a microfiber towel, then re-wax that area.
Advanced Tips
- Consider using a clay bar or clay mitt on trim after cleaning to remove embedded contamination that washing and cleaners cannot lift; many clays are safe on exterior plastics, but test on a hidden area first.
- For long-term protection, apply a ceramic coating specifically formulated for trim surfaces, which bonds to the plastic and provides a durable, hydrophobic layer that makes future cleaning much simpler.
- When washing the vehicle thereafter, avoid using harsh, high-pH soaps on the trim; use the same pH-neutral soap and always dry the trim fully to prevent water spots and mineral buildup.
Final Checklist
- Washed the entire vehicle with pH-neutral soap and rinsed, then dried the trim areas with a clean microfiber towel.
- Tested your chosen cleaner on a hidden trim section and confirmed there was no discoloration or damage.
- Cleaned every trim piece, paying special attention to textured areas, and rinsed away all cleaner residue.
- Inspected the trim under good lighting to ensure it is streak-free and uniformly clean, and applied a protective dressing.
FAQ
Can I use regular dish soap to remove road film from exterior trim?
Dish soap is designed to cut grease, but it may be too harsh for exterior plastic and rubber, stripping away protective oils and leaving the trim dry and prone to cracking. It can also affect the finish of surrounding paint. It's better to stick with a dedicated car wash soap or a cleaner specifically made for trim. If you must use dish soap as a last resort, dilute it heavily and test on a small area first, then apply a UV protectant dressing afterward.
How often should I clean and protect exterior trim?
The frequency depends on your environment and how much you drive. If you commute on busy roads or park near construction sites, road film can build up quickly, so cleaning every two to four weeks may be wise. In less harsh conditions, cleaning every few months might be enough. After each cleaning, apply a trim dressing to maintain protection. Ultimately, check your trim monthly—if it looks dull or just doesn't feel smooth, it's time to clean and reapply dressing.
Is it safe to use a pressure washer on exterior trim?
Yes, but use a wide fan nozzle (usually a 25-40 degree angle) and keep the wand moving to avoid concentrating the stream in one spot. Keep the tip at least 12 inches away from trim to prevent forceful water from seeping under seals or peeling edges. Avoid using a narrow jet that could easily damage rubber gaskets or force water into crevices. Always follow up with a gentle hand wash to ensure all road film is loosened, and never spray directly into door seams for long periods.