How To Dry Door Seals After Washing A Car
A practical step-by-step guide to how to dry door seals after washing a car, including preparation, instructions, common issues, tips, and next steps.
How To Dry Door Seals After Washing A Car
Learning how to properly dry the rubber door seals after washing your car prevents water spots, mold, and premature cracking. This guide gives you a clear, step-by-step method using common household tools like microfiber towels and compressed air. You'll also learn where hidden water tends to pool, how to avoid common mistakes, and how to keep seals flexible and clean. By following this routine, you'll extend the life of your seals and keep your car looking its best.
Fast Answer
- Use a clean, dry microfiber towel to wipe every rubber seal around all doors, the trunk, and the hood, pressing gently into the grooves to absorb trapped water.
- Blow out remaining moisture with a can of compressed air or a leaf blower set on low, then let the doors sit open for five minutes to air dry.
Before You Start
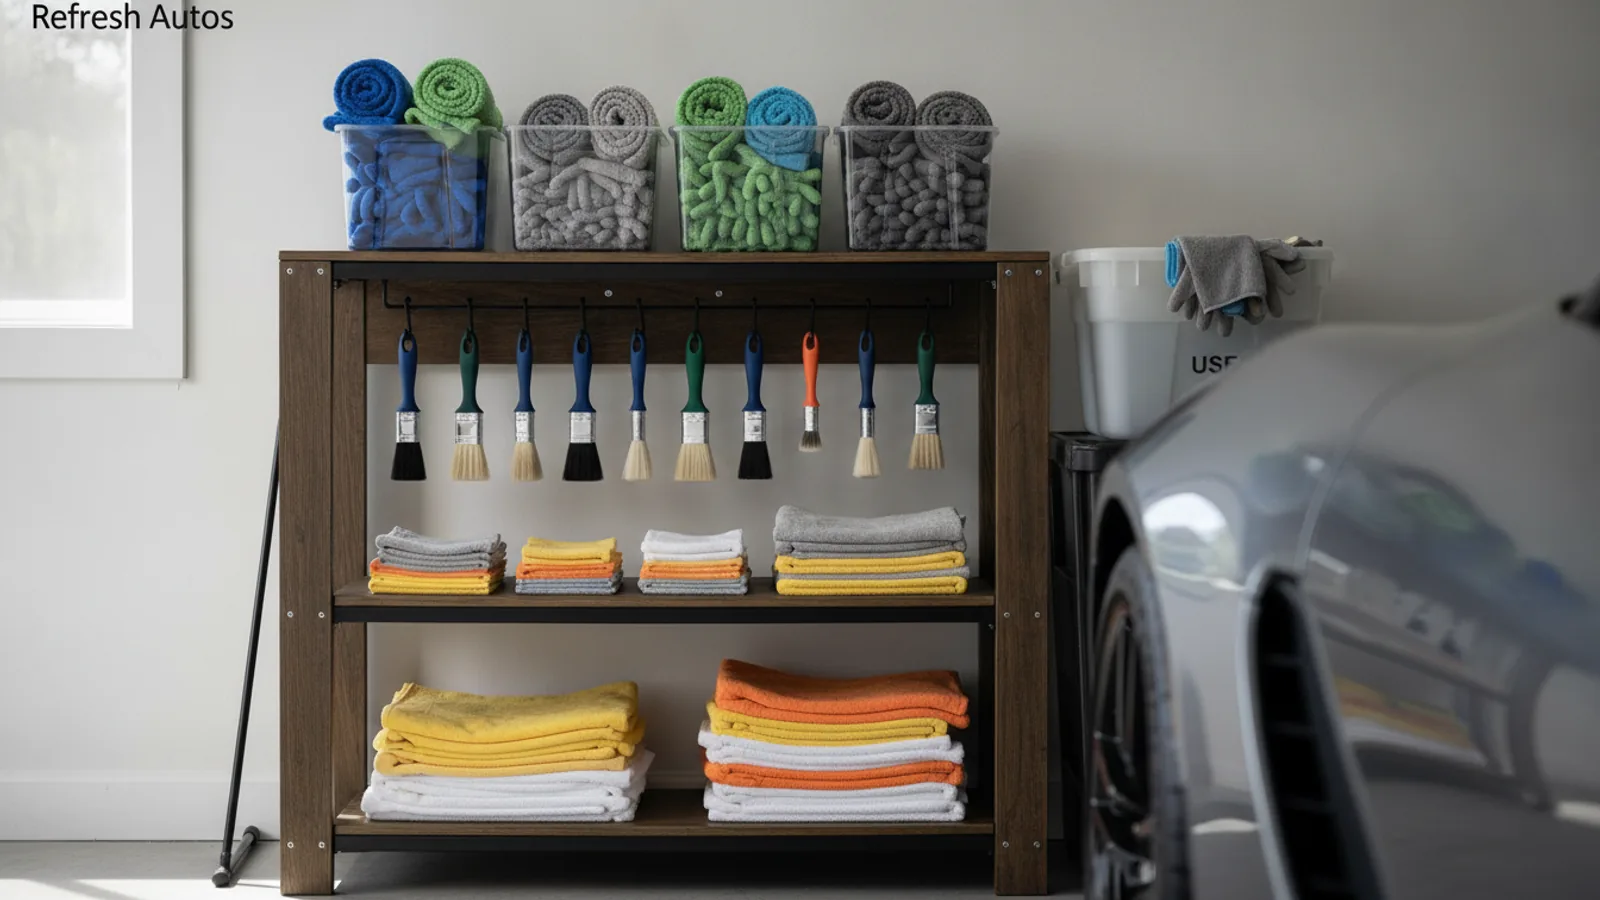
- Gather two or three clean, soft microfiber towels that are lint-free and highly absorbent; avoid terry cloth or paper towels that can scratch rubber or leave fibers.
- Have a can of compressed air or a cordless leaf blower ready to push water out of narrow channels and tight corners that towels cannot reach.
- Find a clean, shaded area with good airflow, such as a driveway or garage, so the seals can dry without direct sunlight causing soap residue to bake on.
- Keep a mild rubber care conditioner or protectant on hand to apply after drying, which helps restore flexibility and prevents cracking.
Step-by-Step Instructions
Gather Your Drying Supplies and Choose a Shaded Spot
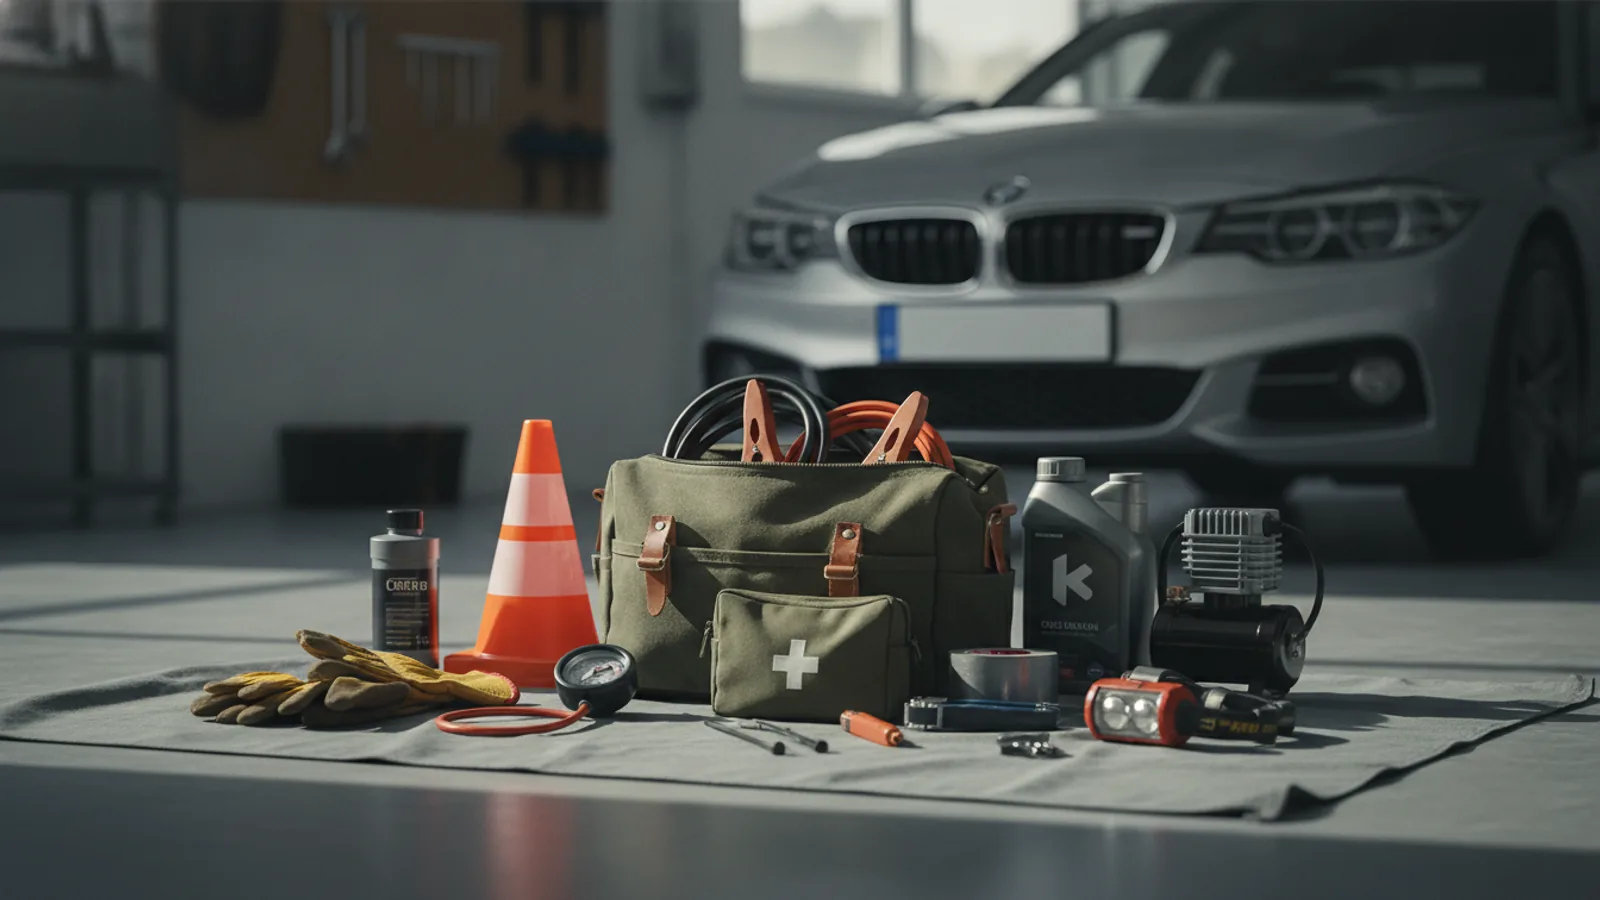
Before you start, park your car in a shaded area with good air circulation, such as a driveway with a slight slope or a garage with the door open. Direct sunlight can dry water too quickly, leaving mineral spots on the rubber and paint. Lay out two or three clean microfiber towels, a can of compressed air with a narrow nozzle, and a soft brush for stubborn dirt. Check that the towels are lint-free and have no embedded debris that could scratch the seal. If you use a leaf blower, set it to low or medium power to avoid forcing water deeper into the door cavity. Having everything within reach speeds up the process, so you can dry the seals before water drips into the interior. For a quick check, sweep a finger along the top edge of the door seal—if it feels slippery with soapy water, you need more towels or time.
Open All Doors and Release the Initial Moisture
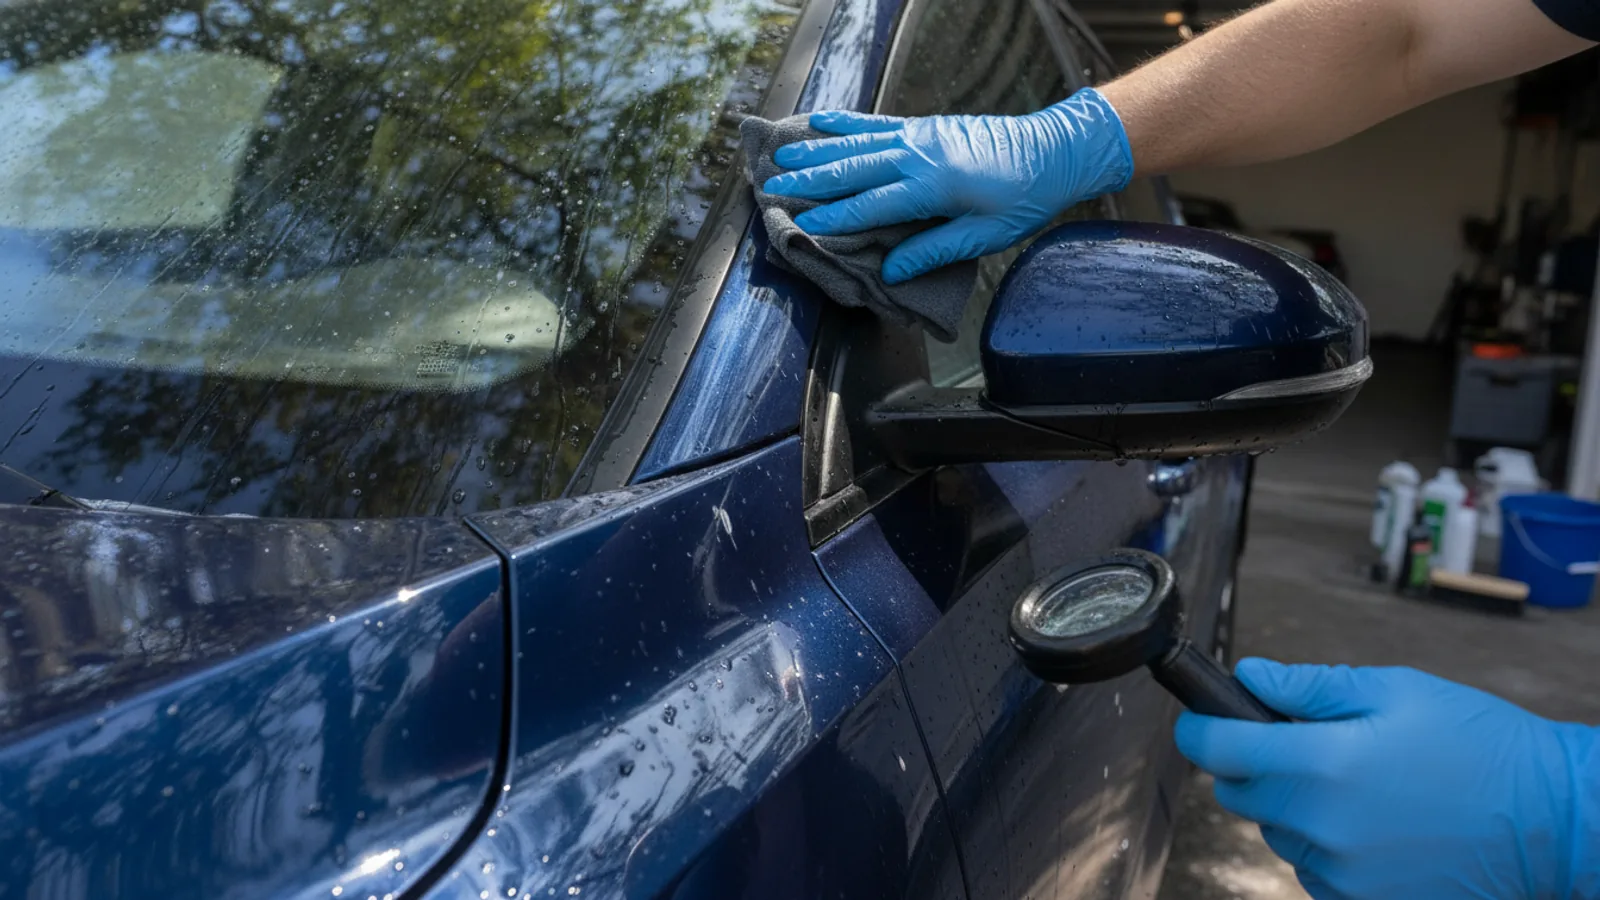
Open every door, the trunk, and the hood to access the seals fully. Use a soft brush or a clean, dry cloth to gently wipe the top and side seals where visible water accumulates. Start with the top edge of the door frame, moving downward to the latch area. Pay special attention to the rubber lip that presses against the body; water often collects in the groove between the seal and the metal. Use a fresh section of towel for each door to avoid spreading dirt. If you see a puddle in the door sill, tilt the car slightly by parking on an incline or pushing water out with your hand wrapped in a cloth. Do not slam the doors to shake water loose, as that can damage hinges or misalign seals. For a practical check, slide a dry paper towel along the seal—if it comes away damp, you still have moisture to remove.
Wipe Every Seal Thoroughly with a Microfiber Towel
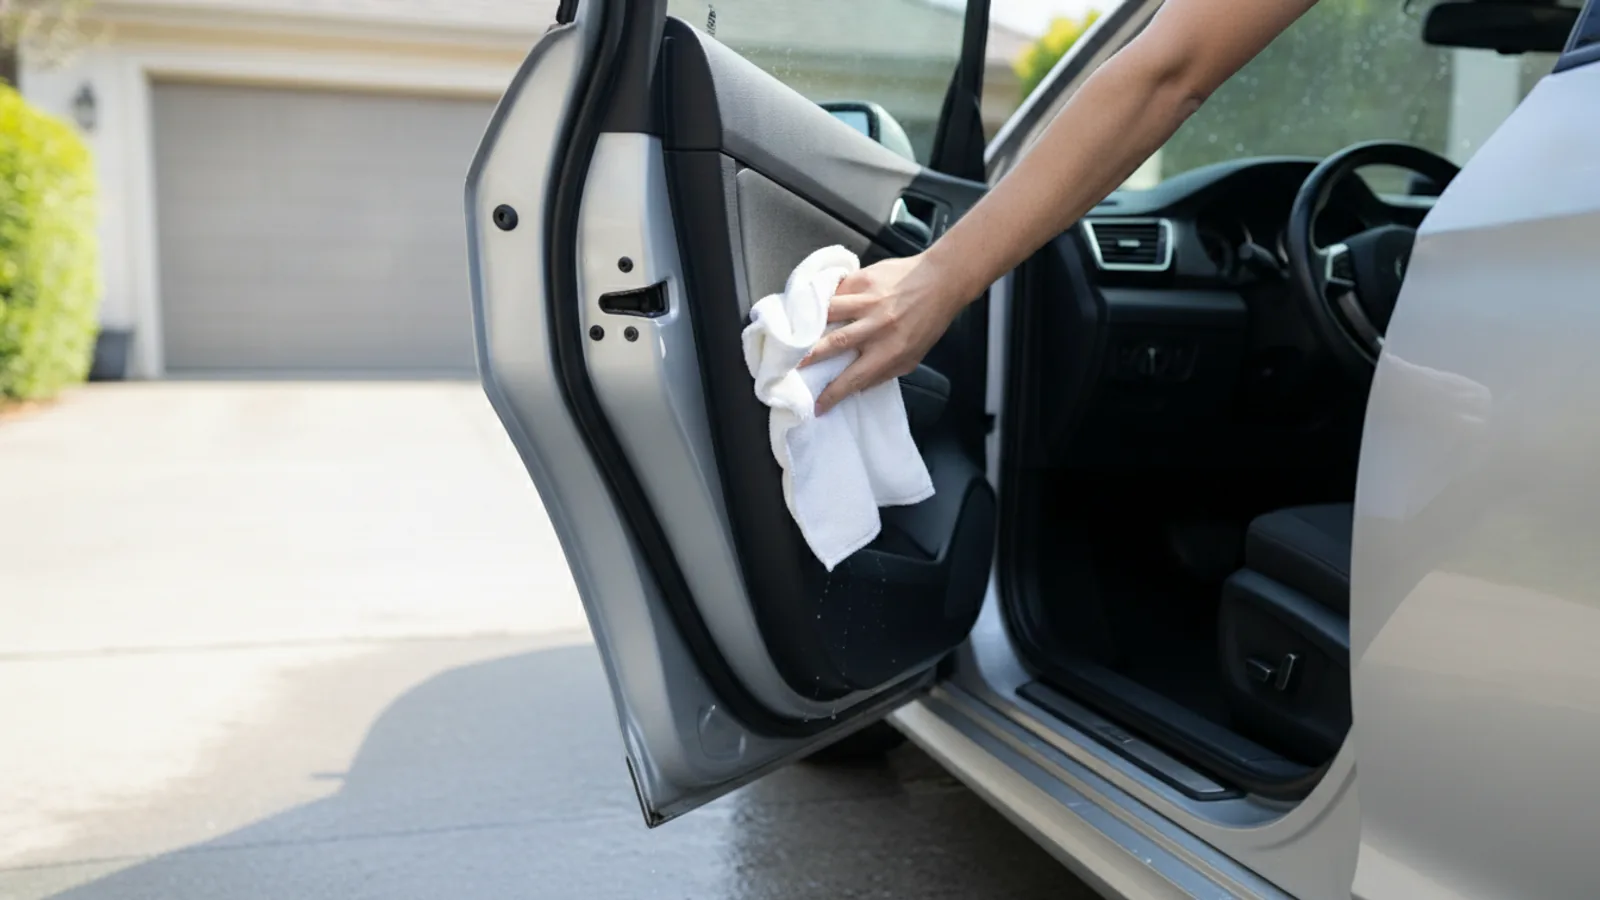
Take a clean, dry microfiber towel and fold it into a pad that fits your hand. Starting at the top corner of the front door seal, run the towel along the entire rubber strip, pressing firmly enough to absorb water but not so hard that you wring out the seal. Work your way down the vertical edge and then across the bottom seal, where water tends to pool in the sill. For the inner seal that contacts the window, wrap the towel around your index finger and glide it along the groove. Change to a fresh towel section every time the one you're using becomes saturated. Repeat the same process for the rear doors, trunk, and hood. Remember that the seal runs all the way around the opening, so do not skip the parts hidden behind hinges or plastic trim. As a check, run your hand along the seal—if it feels dry and does not leave a wet mark on your palm, you're done with the towel pass.
Blow Out Trapped Water from Grooves and Channels
Even after towel drying, water can hide in the narrow grooves, weep holes, and behind the trim. Use a can of compressed air with a thin nozzle or a leaf blower on low to direct air along the top and sides of each seal. Hold the nozzle about an inch away and move it slowly down the entire length of the rubber. Pay extra attention to the bottom corners, where water tends to collect before dripping into the door cavity. When you blow, you will see droplets spray out—that's normal. Work from the top down so water runs out of the gap rather than deeper inside. To check that you've cleared the channels, angle the air toward the drain holes (the small slots at the bottom of the door) and listen for a change in sound as water is pushed out. If you do not have compressed air, leave the doors open for one hour in a warm, breezy spot to allow natural evaporation, but this is slower and less effective.
Dry the Inside Edge of the Seal and the Door Sill
The inside edge of the seal—the part that touches the painted body when the door is closed—is often forgotten. Open the door fully and use a fresh corner of your towel to wipe along this surface. Water that collects here will mark the paint and can wash away lubricants, leading to squeaks. Then, dry the door sill itself with a separate towel. Wipe the entire length of the sill, including the plastic trim and the carpet edge. Do not overlook the bottom of the door frame; water running down from the window can pool there. If your car has kick plates, lift the edge slightly to dry underneath. For a check, run your towel along the sill and see if it comes away dry; if not, keep wiping. Also, open the trunk and dry the seal around the opening, especially the area under the hinges. This step prevents rust in the sill and keeps the interior from developing a musty smell.
Apply a Rubber Protectant and Perform a Final Check
Once the seals are completely dry, apply a small amount of a rubber care product designed for automotive use. Pour a few drops onto a clean, dry cloth and wipe it onto each seal, following the manufacturer's instructions. This restores oils that washing removes, keeping the rubber soft and flexible. Do not apply it to the paint, as it can leave a greasy film. After applying, allow the product to absorb for a few minutes, then use a dry towel to buff any excess. Finally, perform a quick inspection: run your fingers along every seal to confirm it feels dry and smooth. Look for any signs of mold or mildew, especially in dark corners. Close and reopen each door to ensure the seals make good contact and there are no drops of water falling into the cabin. If you notice any moisture, repeat the drying process. Your seals are now clean, dry, and protected.
Quick Reference
| Situation | Action | Why it helps |
|---|---|---|
| You finished washing and notice water pooling in the bottom door seal groove. | Open the door, tilt the car slightly by parking on an incline, and use a microfiber towel to press into the groove to absorb the pooled water, then blow air along the channel to clear any remaining moisture. | Water left in that groove can seep into the cabin, causing rust and mildew over time, so you must remove it promptly to protect the interior and the seal. |
| The weather is cold or damp and the seals take too long to air dry. | Use a hairdryer on a cool, low setting held at least six inches away, or place a portable fan aimed at the doors for 20 minutes to speed up evaporation without adding heat that could damage the rubber. | Cold, humid air slows evaporation, so adding air movement quickens drying and reduces the chance of mold growth on the seals. |
| After drying, you see white water spots on the rubber seals. | Dampen a microfiber towel with clean water, wipe the affected area to dissolve the mineral deposits, then dry immediately with a fresh towel and apply a rubber protectant to prevent future spotting. | Water contains minerals that leave spots once the water evaporates; cleaning them promptly prevents them from becoming permanent, and protectant creates a barrier against future mineral buildup. |
Common Issues
- Visible water drips out of the door when you open it after a wash.: Open the door and tilt it outward so water runs out, then dry the inside edge of the seal and the door sill thoroughly with a microfiber towel. Also, blow air into the drain holes at the bottom of the door to clear any trapped water.
- Mold or a musty smell appears near the doors after a few days.: Clean the affected seal with a mild soap and water solution using a soft brush, then dry it completely with a towel and a fan. Apply a rubber-conditioning product and make sure to dry the seals fully after every future wash.
- The seals look dull, sticky, or develop cracks shortly after washing.: Avoid using degreasers or strong solvents on the rubber. Wash with pH-balanced car shampoo, rinse thoroughly, dry completely, and apply a silicone-free rubber protectant to restore flexibility. If cracks are deep, consider replacing the seal.
Advanced Tips
- After drying, apply a thin layer of dielectric grease (not petroleum jelly) to the rubber seals using a small brush, which helps them stay supple and prevents freezing in winter, but check the product label for compatibility.
- Use a soft toothbrush dipped in a 50/50 water and vinegar solution to gently scrub stubborn grime from the seal grooves, then dry thoroughly to prevent vinegar residue from attracting dirt.
- Whenever you wash your car, take a mental note of any area where water consistently lingers—this may indicate a poorly fitting seal or a blocked drain, and you should address it promptly to avoid long-term damage.
Final Checklist
- Park in a shaded, level area and have your towels, compressed air, and protectant ready before you start washing.
- After washing, open all doors, trunk, and hood, and remove any standing water with a towel or by tilting the car.
- Wipe every rubber seal with a clean, dry microfiber towel, then use compressed air to blow out moisture from grooves and channels.
- Dry the door sills and inside edges of the seals, then apply a rubber protectant and verify that the seals are dry and clean before closing.
FAQ
How often should I dry the door seals after a car wash?
You should dry the seals every time you wash your car, even if you use a pressure washer or an automatic car wash. Water can accumulate in the crevices and cause mold, mildew, and premature rubber deterioration. If you notice excessive water remaining, take extra time to dry thoroughly. Also, check the seals periodically if you wash infrequently, as dust and debris can mix with moisture.
Can I use a regular towel or paper towels to dry the seals?
It is best to use a clean, lint-free microfiber towel because cotton or paper towels can leave fibers behind and may scratch the rubber surface. Microfiber is more absorbent and won't shed, so it pulls water away more efficiently. If you must use a cotton towel, make sure it is very soft and free from any abrasive particles.
Is it safe to use a leaf blower to dry the seals?
Yes, a leaf blower set on low power is an effective way to push water out of narrow crevices, but you must be careful. Use a clean nozzle and keep it at least a few inches away to avoid blasting debris into the seals. Avoid using high pressure, which can force water into the door interior. Always finish with a microfiber towel to remove any lingering droplets.