How To Clean Leather Car Seats Safely
A practical step-by-step guide to How to clean leather car seats safely, including preparation, instructions, common issues, tips, and next steps.

How To Clean Leather Car Seats Safely
Leather car seats look elegant and wear well when you keep them clean, but they are easy to damage with the wrong product or too much water. This guide shows you how to remove dust, body oils, and grime from finished and coated leather without drying, cracking, or stripping the surface. You will learn what to test first, how to clean in small sections, and how to condition and protect the seats afterward. It also covers spills, sticky residue, and shiny patches, with checks so you can confirm each step actually worked.
Fast Answer
- Clean leather car seats safely by vacuuming first, then wiping with a mild leather cleaner and a soft microfiber cloth, working one small section at a time.
- Avoid household all-purpose sprays, bleach, alcohol, and soaking the seats; test any product on a hidden area and keep the surface damp, not wet.
Before You Start
- Park in shade or a well-ventilated area and let the seats cool so cleaner does not dry too fast on hot leather.
- Remove floor mats, loose items, and child seats from the back so you can reach seams and crevices without stretching.
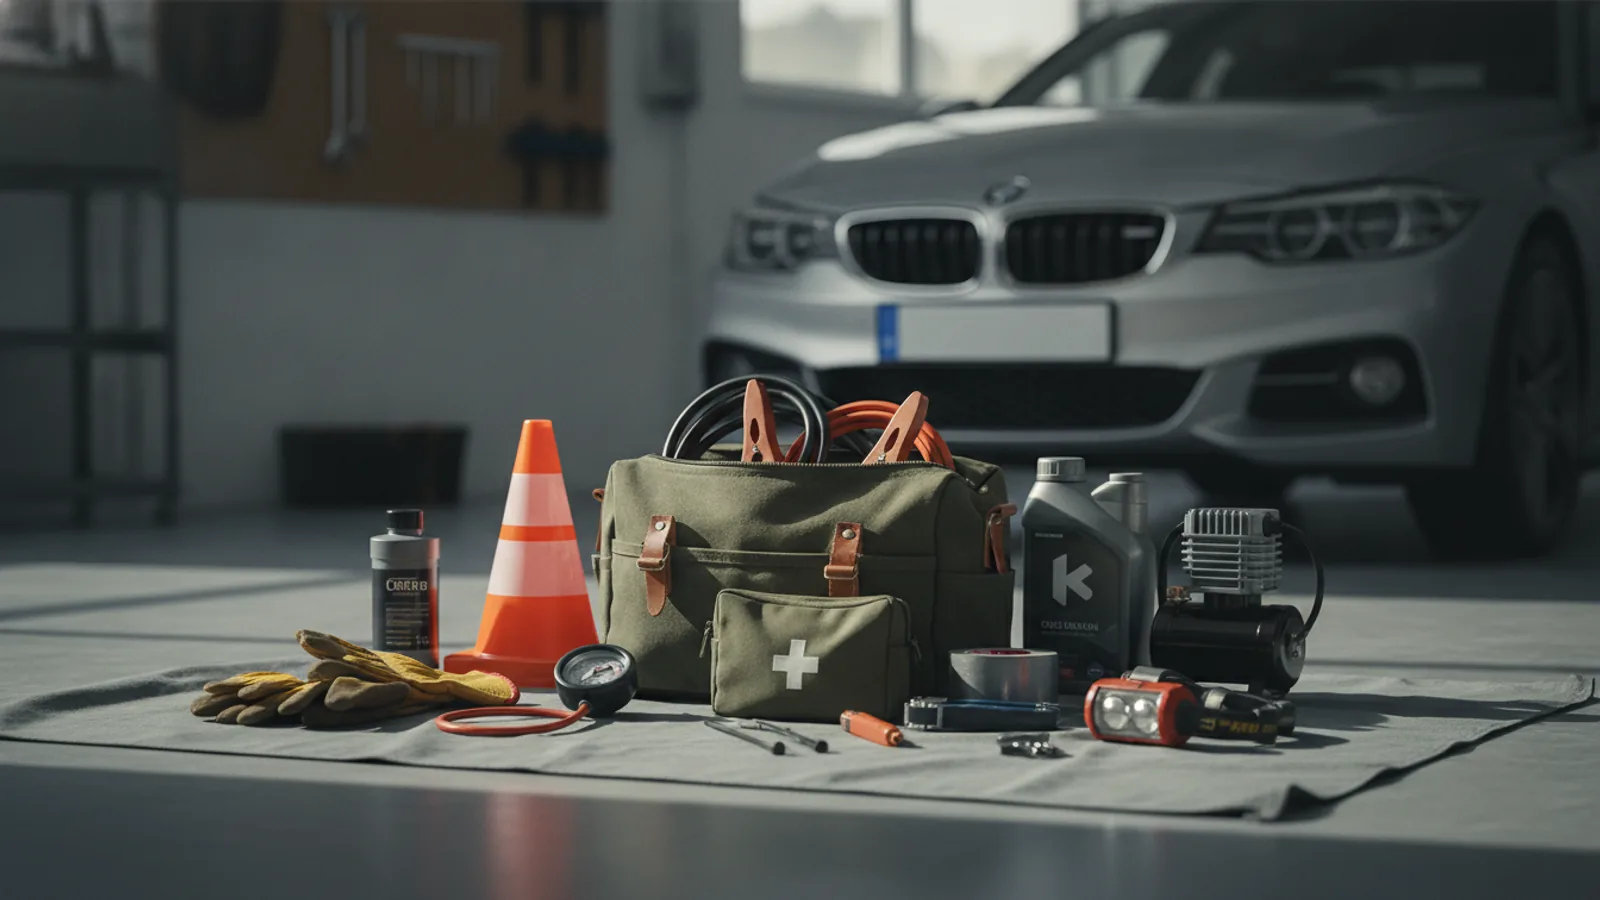
- Gather two soft microfiber cloths, a soft detailing brush, a vacuum with a crevice tool, and a leather cleaner labeled for your seat type.
- Check the owner's manual or seat tag for leather type and any cleaning limits before you open any bottle.
Step-by-Step Instructions
Vacuum Dust and Loose Debris
Start with a dry seat. Use a vacuum with a soft brush attachment on the flat cushions and a crevice tool along seams, side bolsters, and the gap between the backrest and base. Move the nozzle slowly so grit lifts instead of being pushed deeper into the grain. Pay attention to stitching, perforated panels, and the rail area under the seat, where crumbs collect. After vacuuming, press a clean microfiber cloth against a cushion and lift it; if you see fine dust, vacuum that area again. This check matters because abrasive dust acts like sandpaper when you wipe, and trapped grit can scratch the finish you are trying to protect. Do not skip the crevices, since hidden debris migrates back onto the seat as soon as someone sits down. When the cloth comes away clean, you are ready to introduce moisture.
Test Cleaner on a Hidden Section
Before touching a visible panel, find a hidden piece of the same leather, such as the underside of the seat base or a section behind the backrest. Apply a small amount of cleaner to a microfiber cloth, not directly to the leather, and wipe a coin-sized area. Wait a few minutes, then inspect for color change, tackiness, dullness, or a raised texture. Rub the spot lightly with a white cloth to see if any dye transfers. This check matters because finishes vary widely, and a product that is safe on one seat can dull or discolor another. If the test area looks unchanged and feels smooth, proceed. If you see any change, stop and use a gentler product or plain water with a barely damp cloth. Testing a hidden spot protects the seats you actually see every day.
Apply Cleaner in Small Sections
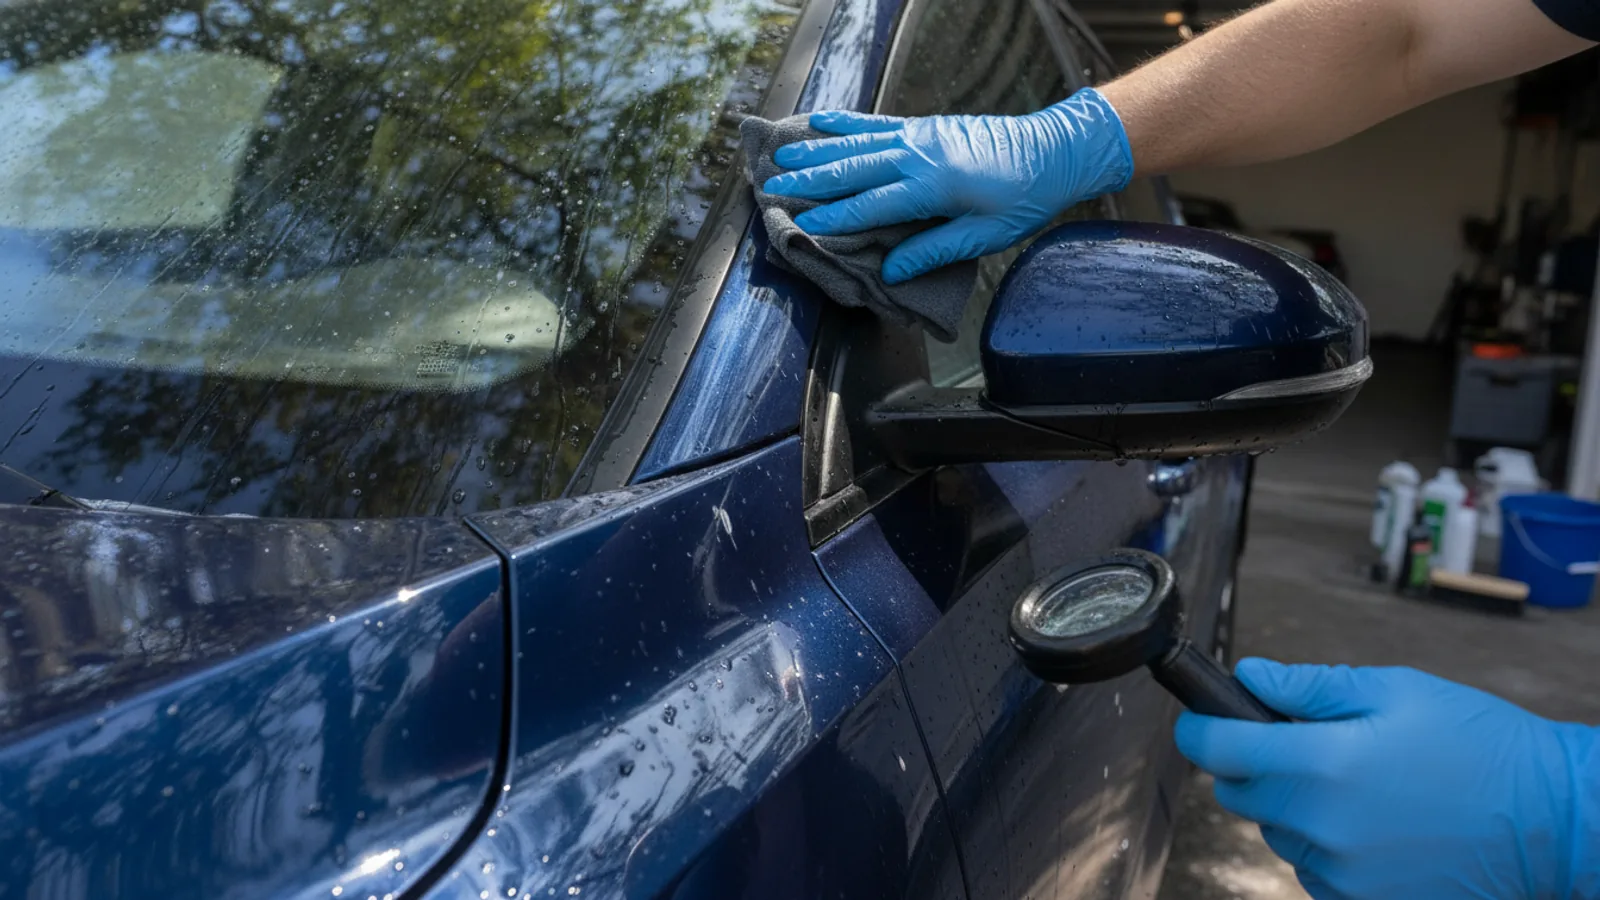
Work one section at a time, such as a single seat cushion or half a backrest. Spray or pour a small amount of leather cleaner onto a microfiber cloth until it is damp but not dripping, then wipe with light pressure in overlapping passes. Let the cleaner sit for the time stated on the label, usually under a minute, so it can lift body oils without drying on the surface. Use a soft brush only on textured or perforated areas, and keep the bristles moving gently. Wipe away residue with a second clean, damp cloth before moving on. This check matters because cleaner left on the surface can attract new dirt and leave a tacky film. Finishing each section completely before starting the next prevents drips from drying unevenly. If the cloth turns dark quickly, switch to a clean side and continue.
Rinse Away All Cleaner Residue
Dampen a separate clean microfiber cloth with plain water and wring it out until it is barely wet. Wipe the cleaned section to remove leftover cleaner, then follow with a dry cloth to absorb surface moisture. Repeat this rinse-and-dry pattern on every section you cleaned, including seams and piping. Feel the leather after it dries; if it is tacky or slippery in spots, those areas still hold residue and need another light rinse. This check matters because dried cleaner can make leather feel sticky, attract dust, and interfere with conditioner. Keep the water minimal, since soaking the surface is the fastest way to damage leather. When the seat feels smooth and dry to the touch, the rinse is complete. Move to the next section only after the previous one passes the feel test and shows no streaks.
Condition and Protect the Leather
After cleaning and rinsing, let the seats dry fully in the shade. Apply a small amount of leather conditioner to a clean microfiber pad or cloth, then work it into the surface with slow, even circles. Use only as much as the leather absorbs, and wipe away any excess so the surface does not feel greasy. Pay attention to bolsters, headrests, and armrests, which see the most contact and dry out first. Let the conditioner rest for the time on the label, then buff gently with a dry cloth. This check matters because conditioning restores flexibility and helps prevent cracks from daily flexing and sun exposure. Check by pressing a fingertip into a cushion; it should feel supple, not hard or slick. If it feels greasy, buff again with a clean cloth.
Dry, Inspect, and Reassemble
Keep the car shaded and doors open until the leather feels dry, not damp, to the touch. Run a clean white cloth over seams and stitching to check for color transfer or leftover product. Look at the seats from a low angle in good light to spot streaks, missed spots, or shiny patches you may have missed. Reinstall child seats only after the leather is fully dry and any hardware is secure. This check matters because moisture trapped under a seat or mat can cause odors, and a shiny patch often signals leftover product rather than clean leather. If you find residue, rinse that small area once more with a barely damp cloth and dry it. Once everything passes, note how long the job took so you can plan the next cleaning.
Quick Reference
| Situation | Action | Why it helps |
|---|---|---|
| Seats feel sticky or shiny after cleaning. | Wipe the area again with a barely damp clean microfiber cloth, then dry it with a separate cloth and let it air out. | Sticky or shiny patches usually mean dried cleaner remains on the surface, and rinsing it away restores a natural matte finish. |
| You face a spill of coffee, soda, or food. | Blot the liquid immediately with a dry cloth, then clean the spot with a small amount of leather cleaner and rinse, without rubbing hard. | Quick blotting keeps liquid from soaking into seams and padding, where it can cause odors or stiffening that is far harder to remove later. |
| A hidden test spot changes color or texture. | Stop using that product, wipe the area with plain water, and choose a gentler cleaner labeled for your seat type. | A visible change on a hidden area signals the product is too strong for the finish and would likely damage the seats you see. |
Common Issues
- White or gray residue in stitching and seams: Dip a soft brush in plain water, work the seams gently, and blot with a clean cloth. Repeat until the cloth lifts no more residue, then dry fully before conditioning.
- Shiny, slick patches on bolsters and headrests: Re-rinse those areas with a barely damp cloth and buff dry. If the shine remains, it may be worn finish, so check the owner's manual or a trim specialist before applying more product.
- Cracks or dryness along seat edges: Clean gently, then apply a thin layer of leather conditioner and buff off the excess. For deep cracks or lifting finish, avoid harsh cleaners and have the seat inspected by a professional.
Advanced Tips
- Use two cloths per section, one damp for cleaning and one dry for buffing, so you never spread removed grime back onto the leather.
- Clean seats twice a year in mild weather, and more often if you commute with pets, children, or food, because frequent light cleaning is safer than rare deep cleaning.
- Keep a small labeled kit in the trunk with a microfiber cloth, a mild cleaner, and a spray bottle of water so spills are handled before they set.
Final Checklist
- Seats are vacuumed, including seams, crevices, and the rail area under each seat.
- A hidden test spot showed no color, texture, or finish change before full cleaning.
- Every cleaned section was rinsed with a barely damp cloth and buffed dry with no sticky feel.
- Leather is fully dry, conditioner is buffed in, and child seats are reinstalled only after drying.
FAQ
Can I use household soap on leather car seats?
A few drops of mild soap in water can work on some finished leathers, but dish soaps and strong cleaners can strip the finish and leave residue. Check the owner's manual or seat tag first, and always test a hidden area. A cleaner made for leather is the safer default.
How often should I clean leather car seats?
Clean lightly every few months and do a full clean twice a year in mild weather. Increase the frequency if you carry pets, children, or food, or if the seats look dull and feel gritty. Regular light cleaning is gentler than waiting for heavy buildup.
What should I do if water soaks into a seam?
Blot the area right away with a dry cloth and let it air dry in the shade with the doors open. Do not use heat or a hair dryer, and do not sit on the seat until it feels dry, because trapped moisture can cause odors or stiffening.