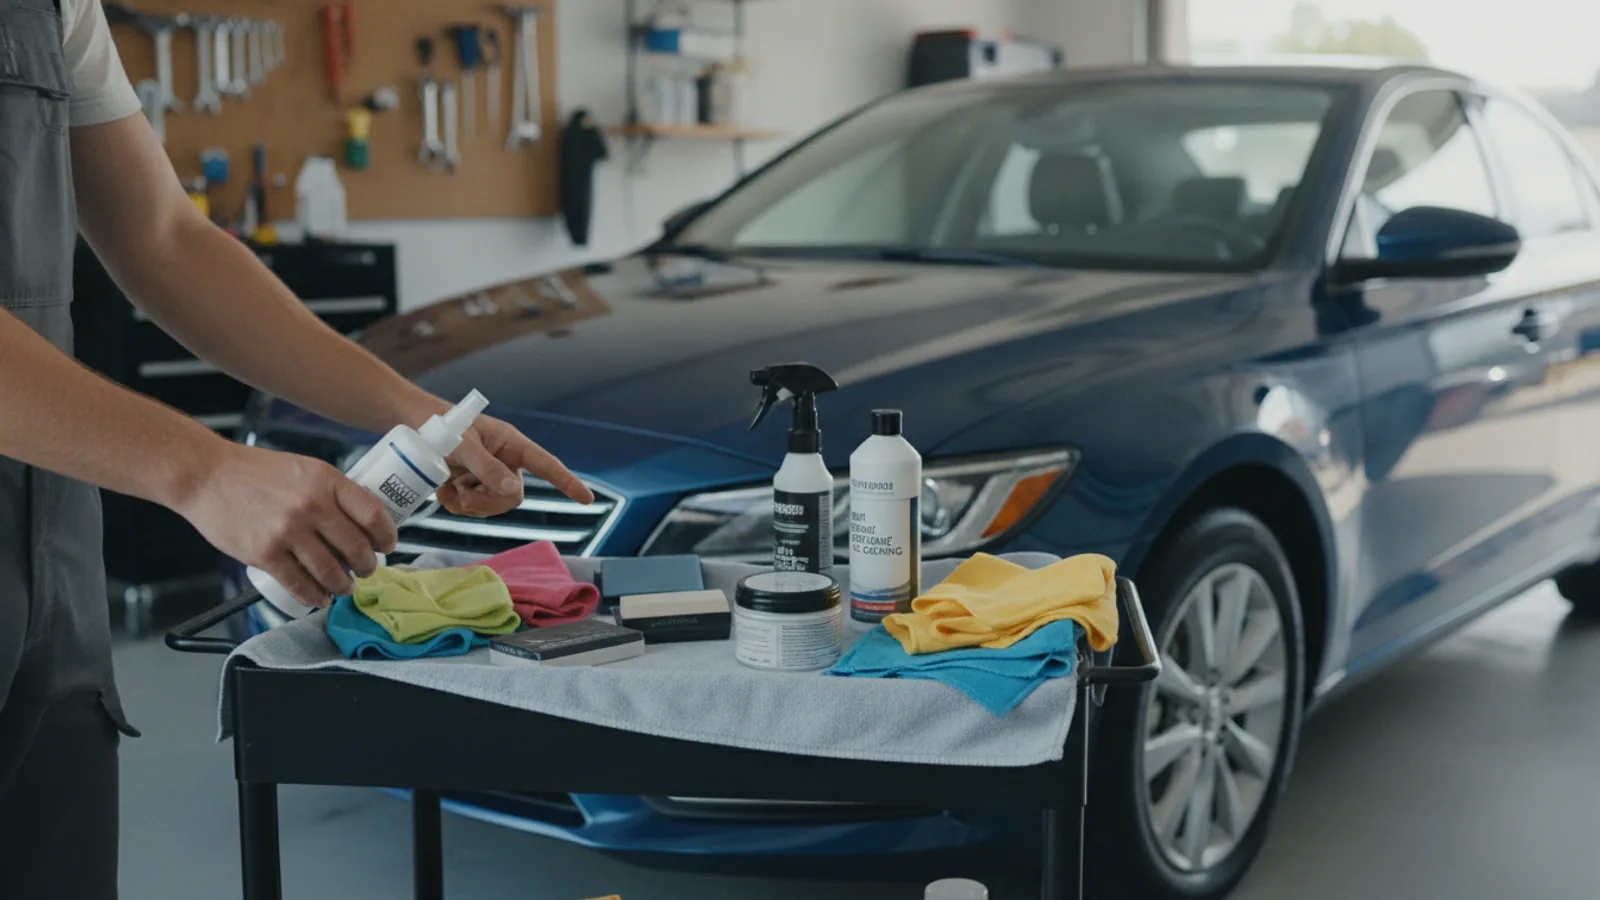
How To Choose Removing Road Film From Exterior Trim Safely
A practical step-by-step guide to how to choose removing road film from exterior trim safely, including preparation, instructions, common issues, tips, and next steps.

How To Choose Removing Road Film From Exterior Trim Safely
Road film is the sticky, greyish layer of traffic exhaust, oil, and dirt that clings to your car's exterior trim. If you scrub it off with the wrong tools or chemicals, you can leave permanent scratches, dull the finish, or even bleach the plastic. This guide walks you through a safe, methodical process that starts with a gentle rinse, moves through careful hand-cleaning with dedicated products, and finishes with protective steps. You'll learn how to test an inconspicuous area first, use the right tools to avoid abrasion, and apply a trim dressing that restores a rich, even color. The other sections cover common problems like stubborn stains and missed spots, answer frequent questions, and give you a quick reference for on-the-go decisions. By following the steps and checks, you'll remove road film without damaging your trim, and you'll know exactly what to look for to keep it looking good.
Fast Answer
- Start by rinsing the trim with plain water to remove loose dirt, then test a small hidden patch with your chosen cleaner before applying it to the whole surface.
- Use a soft microfiber cloth and a dedicated exterior trim cleaner that says safe for plastic or rubber, working in gentle circular motions, and then rinse and dry completely.
Before You Start
- Park the vehicle in a shaded area so the trim stays cool and cleaning products don't dry too quickly, which can leave streaks or residue.
- Gather a bucket of clean water, a few soft microfiber cloths, a soft-bristle brush (like a detailing brush), and a dedicated exterior trim cleaner that's safe for plastic and rubber.
- Do not use dish soap, degreasers, or any abrasive pad, as these can strip protective coatings or scratch the surface.
- Have a separate clean microfiber cloth ready for drying, and if you plan to apply a trim dressing, pick one that's water-based and UV-protective.
Step-by-Step Instructions
Rinse the trim with plain water
Start by giving the trim a thorough rinse with a gentle stream of water from a hose, without using any cleaning product yet. Aim to cover the entire trim area, including the edges and recesses where road film collects. Let the water run for a few seconds to soften and loosen the dried film. You're doing this to remove loose dust and grit that could scratch the trim when you apply the cleaner. After the rinse, visually inspect the trim—if you see beads of water forming, the trim is reasonably clean; if you see dry patches, you may need to rinse a bit longer. This initial rinse is critical because any loose particles left on the surface will grind into the plastic as you clean, causing micro-scratches that dull the finish. Take a clean, dry microfiber cloth and gently pat the trim dry to see the true condition before moving to the next step.
Test the cleaner on a hidden spot
Before you clean the entire trim, choose a small, inconspicuous area—like the lower edge behind a wheel or under a door handle—and apply a small amount of your dedicated trim cleaner with a clean microfiber cloth. Work it in gently with circular motions for about ten seconds, then wipe it off with a dry part of the cloth. Check that area to see if the cleaner removes the road film without discoloring or leaving a hazy residue. You're doing this to confirm that the product is safe for your specific trim type, because some plastics are more sensitive than others. If the test spot looks clean and the color matches the rest, you can proceed; if you see whitening, streaking, or any dullness, stop and choose a milder product. This check takes only a minute and saves you from potentially ruining the entire trim's appearance. Make sure the test spot is completely dry before evaluating the result.
Clean the trim with gentle motions
Dampen a clean microfiber cloth with the trim cleaner, but don't soak it—the cloth should be moist, not dripping. Starting at the top of the trim, work in small circular motions, covering the surface in overlapping passes. Press just firmly enough to pick up the film, but avoid hard scrubbing. Let the cleaner do the work, and wipe in the direction of the grain or pattern if the trim has one. Work in sections, rinsing the cloth in clean water as it picks up dirt. After each section, wipe with a dry cloth to see if the film is gone. If you see persistent film, reapply the cleaner and let it sit for twenty seconds before wiping. This gentle method is essential because excessive pressure or prolonged rubbing can rub off the plastic's protective coating and create dull spots. Once you've gone over the entire trim, rinse the area with water and dry thoroughly with a fresh microfiber cloth.
Rinse away any cleaner residue
After you've cleaned the trim, use water to rinse away all leftover cleaner, because many cleaning products leave a residue that attracts new dirt. Use the hose with a gentle spray, starting from the top of the trim and working downward, making sure to flood every area you cleaned. Let the water run for a few seconds to ensure the cleaner is completely gone. Then, take a clean, dry microfiber cloth and thoroughly dry the trim. While drying, inspect the surface for any remaining road film or streaks. If you notice any missed spots, go back and clean them with the same gentle method, then rinse and dry again. This final rinse is a non-negotiable step because residual cleaner can actually accelerate the buildup of new road film, defeating your effort. Drying also prevents water spots, which can etch into the plastic if left to evaporate in the sun. After drying, run your finger across the trim—it should feel smooth, not sticky.
Dry and inspect the trim completely
Use a fresh, completely dry microfiber cloth to go over the entire trim surface, paying extra attention to edges and valleys where water likes to hide. Change to a clean section of the cloth as it becomes damp, and keep drying until no moisture remains. Once dry, step back and inspect the trim in different lighting angles—direct light and side light—to reveal any remaining film, hazy spots, or water marks. If you see any dull areas, that's a sign of leftover residue, so re-clean those spots with a tiny bit of cleaner and rinse again. If the trim looks uniformly clean and retains its original color, you're ready to move on. This inspection step matters because a clean, dry surface is necessary for any protective dressing to bond properly; if you skip drying, you'll seal in moisture and the trim may look streaky. A thorough check also ensures you haven't missed any hidden areas that will stand out later.
Apply a protective trim dressing
Once the trim is completely clean and dry, apply a trim dressing that is water-based and contains UV protectants. Shake the product well, then apply a small amount to a clean microfiber applicator pad or a foam sponge. Work the dressing into the trim using even, long strokes, covering the surface with a thin, uniform layer. Avoid spraying directly onto the trim, because that can create thick pools that leave oily streaks. Let the dressing dry for the time stated on the product instructions (usually ten to fifteen minutes), then buff the trim with a dry microfiber cloth to remove any excess. The dressing not only restores a rich, like-new color but also creates a protective barrier against future road film and UV damage. Be careful not to get the dressing on adjacent painted surfaces; wipe off any overspray immediately. This final step is what keeps your trim looking good for weeks, reducing the frequency of deep cleaning.
Quick Reference
| Situation | Action | Why it helps |
|---|---|---|
| You're at the car wash and want to remove road film on the go. | Skip the wand for trim; use a dedicated trim cleaner from a spray bottle and a clean microfiber towel, then rinse with water from a spray bottle. | Car wash soaps and brushes are too harsh for exterior trim and can strip its protective coating, causing premature fading. |
| The road film is mixed with bug splatter or bird droppings. | First soften the dried debris by placing a damp microfiber cloth over it for ten minutes, then gently lift it off before using trim cleaner. | Soaking loosens the debris so it doesn't scratch the trim when you wipe it away, preserving the finish. |
| Your trim has a white, chalky look after cleaning, indicating oxidation. | Use a trim restoration product that has mild abrasives, apply it with a soft cloth, and follow with a UV protectant dressing. | The mild abrasives remove the oxidized layer, and the protectant seals the surface to prevent future oxidation. |
Common Issues
- Streaks or a white residue appear after the trim dries.: Re-clean the affected area with a mix of water and a few drops of white vinegar, then rinse thoroughly and dry completely.
- The trim looks dull or faded immediately after cleaning.: Apply a dedicated trim dressing that contains UV protectants, following the steps in Step 6, to restore the color and luster.
- Road film is stuck in the fine texture of the trim and won't come off with a cloth.: Use a soft-bristle detailing brush dipped in the trim cleaner to gently work into the texture, then wipe clean and rinse.
Advanced Tips
- After cleaning, apply a hydrophobic sealant specifically for exterior trim, which creates a barrier that causes road film to slide off during rain.
- If your trim is textured, use a low-pressure air tool (like a leaf blower) to dry it, which forces water out of the grooves without leaving lint.
- Store your trim cleaner and dressing at room temperature, and shake the dressing well before each use, because separation reduces its effectiveness.
Final Checklist
- Parked in shade and trim is cool to the touch
- Tested the cleaner on a hidden patch and checked for color or residue
- Cleaned using gentle circular motions and rinsed off all product
- Dried completely and inspected under a light for missed spots
FAQ
Can I use dish soap or all-purpose cleaner on exterior trim?
No, dish soap and many all-purpose cleaners are too harsh for exterior trim. They strip away protective coatings and can cause the plastic to dry out and fade. Use a dedicated exterior trim cleaner that states it's safe for plastic and rubber. These products have a balanced pH and won't damage the trim. If you're unsure, always do a small patch test first.
How often should I clean and treat exterior trim?
It depends on how often you drive and the conditions you face. If you drive on highways or in urban areas, road film can build up in as little as two weeks. A good routine is to wash the trim with a gentle soap and water every time you wash the car, and deep-clean with a trim cleaner once a month. After deep cleaning, apply a trim dressing to maintain protection. In winter, when salt and sand are common, you may need to clean more often, especially after snowstorms.
Why does my trim turn gray or chalky even after cleaning?
That grey or chalky look, also called oxidation, happens when the plastic's UV protectants break down over time. Cleaning alone won't restore it. You need to use a trim restoration product that contains mild abrasives to remove the oxidized top layer, then apply a UV protectant dressing. Avoid using harsh chemicals that strip the plastic further. If the oxidation is severe, you may need to repeat the restoration process a few times.