How To Check Wiper Blades Before A Wet Weather Journey
A practical step-by-step guide to how to check wiper blades before a wet-weather journey, including preparation, instructions, common issues, tips, and next steps.
How To Check Wiper Blades Before A Wet Weather Journey
Checking your wiper blades before driving in wet weather is a simple but essential safety ritual. Worn or damaged blades can leave streaks, skip across the glass, or fail to clear water properly, reducing your visibility when you need it most. This guide walks you through a thorough inspection of your wiper blades, covering lift, visual checks, rubber condition, and a practical wet test. It also explains how to clean the blades, address common issues like streaking or chattering, and decide when it's time for a replacement. By following these steps, you'll ensure your wipers are ready to handle rain, sleet, or snow, keeping your journey safer and more comfortable.
Fast Answer
- Lift each wiper arm away from the windshield and inspect the rubber edge for cracks, tears, or stiffness; if you see damage, plan to replace them soon.
- Run a wet test: spray washer fluid and run the wipers; if they leave streaks or skip, clean the blades with a damp cloth, and if that doesn't help, replace them.
Before You Start
- Park your vehicle on a flat surface and turn off the engine, then set the parking brake to ensure the car stays still while you work.
- Check the weather forecast: if rain is expected in the next few hours, perform the inspection before you drive, not at the roadside.
- Gather a clean, lint-free cloth, a mild glass cleaner or a 50/50 vinegar-water solution, and a small brush for removing debris.
- If it's safe, open the hood and locate the wiper pivot nuts—this helps you access the arms without straining the mechanism.
Step-by-Step Instructions
Lift the wiper arms away from the windshield
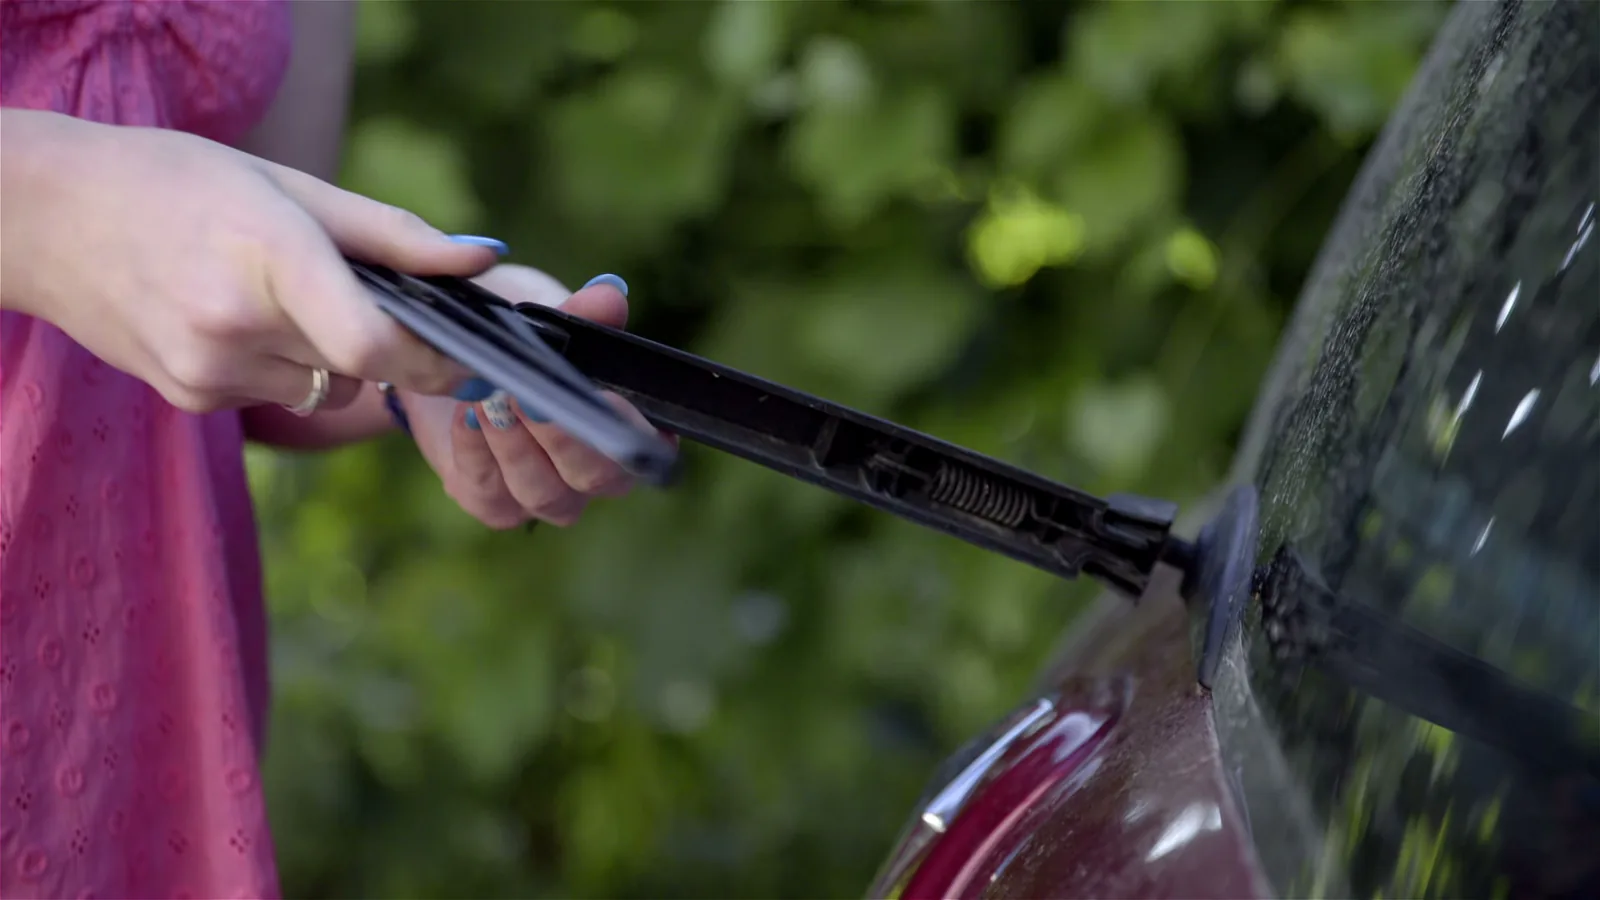
Park your car on a level surface and turn off the engine. Then, carefully pull each wiper arm upward until it locks in the raised position. Most vehicles have a detent that holds the arm up, but if not, hold it steady with one hand. Inspect the area where the arm attaches to the windshield—look for any cracks, chips, or loose fittings. This step is crucial because a wiper arm that doesn't sit properly can cause uneven pressure on the blade, leading to streaking. While the arm is raised, check that the spring mechanism is intact and not rusty, as this spring provides the tension needed for consistent contact. If you notice any debris around the base, use a cloth to clean it off. Raise both arms and leave them in this position for the next checks.
Examine the rubber blade for wear and damage
Look closely at the entire length of the rubber edge that touches the glass. Run your finger gently along the edge—it should feel smooth and flexible, not brittle or rough. Check for cracks, tears, or a shiny, glazed appearance, which indicates hardening. Also, look for any peeling or separation from the metal frame. If you see deep grooves or chunks missing, the blade is compromised. This inspection matters because the rubber is the only part that actually contacts the glass; even small defects can cause streaks or missed spots. Compare the condition of both blades: if one looks significantly worse, it's likely been damaged by sun or ice. If the rubber feels hard and inflexible, it needs replacement, as it won't conform to the windshield's curve.
Check for loose connections and frame damage
With the wiper arm raised, gently wiggle the blade where it attaches to the arm. There should be a snug, secure fit with no play. Examine the metal or plastic frame that holds the rubber—look for rust, bent sections, or broken hinges. Press on the pressure points where the frame contacts the rubber; these should be even and not pinched. A loose blade can cause chattering or uneven wiping, while a damaged frame might not allow the blade to flex. If the frame has sharp edges, they could scratch the glass. Also, inspect the rubber for any debris lodged in the frame, such as small stones or leaves, and clean them out. This check ensures that the blade is securely mounted, reducing the risk of it detaching while driving.
Clean the rubber and windshield
Dampen a clean, lint-free cloth with a mild glass cleaner or a vinegar-water solution. Wipe the rubber edge along its entire length to remove dirt, oil, and residue. Then, clean the windshield area that the wipers cover, paying attention to any bug splatter or tree sap. This step is often overlooked but vital because residue on the rubber or glass creates streaks that mimic damaged blades. Use a separate section of the cloth for the rubber to avoid transferring grime back. After cleaning, run the wipers on a low speed without washer fluid to see if the rubber leaves any marks. If streaks persist, you might need to repeat the cleaning or consider a dedicated wiper cleaner. This maintenance can extend the life of your blades and improve visibility.
Perform a wet test with washer fluid
Sit in the driver's seat and turn on the ignition (engine off will not allow wipers, so start the engine). Spray washer fluid generously onto the windshield and turn on the wipers to the intermittent setting. Observe how the blades clear the water: they should remove it in a single smooth pass without leaving streaks, chattering, or skipping. Do this for several cycles, both at low and high speeds if possible. This real-world test is the most accurate way to assess performance. Pay attention to the arc of the wipe—if there's a gap at the top or bottom, the blade may be too short or the arm tension incorrect. If you see any streaking, note which side of the blade it occurs on. This test helps you decide whether cleaning was sufficient or if replacement is needed.
Decide if replacement is needed
Based on your inspection and wet test, determine if the wiper blades meet your standards. If you saw cracks, stiffness, uneven wiping, or streaking that doesn't improve after cleaning, plan to replace them before driving in wet weather. Most blades last about six months to a year, but this varies with climate and usage. When replacing, choose the correct size and type for your vehicle—check the owner's manual or measure the old blade. If you're unsure, a parts specialist can help. If replacement isn't possible immediately, consider a temporary fix like applying a rubber conditioner, but understand it's not a long-term solution. This decision ensures you maintain clear visibility, which is critical for safety in rain, snow, or spray from other vehicles.
Quick Reference
| Situation | Action | Why it helps |
|---|---|---|
| You notice streaking on the windshield when it rains | Clean the rubber blades with a damp cloth and wipe the glass with a degreaser; if streaks persist, replace the blades. | Streaks often come from dirt or a worn edge, and a thorough clean followed by replacement resolves the cause. |
| The wipers chatter or skip across the glass | Turn off the wipers, gently twist the blade to realign it, and tighten the wiper arm nut if needed. | Chattering usually indicates an alignment or tension issue that a simple adjustment can fix before you buy new blades. |
| The rubber blade appears cracked or stiff after winter | Inspect the rubber for cracks and if present, replace the blade with a winter-specific one that has a rubber boot. | Cold temperatures harden rubber, and a cracked blade won't clear water effectively, compromising visibility. |
Common Issues
- Streaking that leaves water lines on the glass: Clean the rubber with aluminum foil: fold a piece of foil and rub it gently along the edge to remove the glazed coating, then wipe with a cloth.
- Wiper blade making a loud rubbing sound: Apply a small amount of silicone spray to a cloth and wipe the rubber edge, but avoid overspray on the glass; if noise persists, the blade is likely worn and needs replacement.
- Blade leaves a dull patch at the end of its sweep: Check if the wiper arm is bent or the blade is too short; bend the arm slightly with pliers if needed, or purchase the correct size.
Advanced Tips
- After washing your car, apply a glass water-repellent treatment to the windshield—it helps water bead up and reduces reliance on wipers.
- In icy conditions, never use wipers to clear frost; instead, use a scraper or de-icer to avoid tearing the rubber.
- If you live in a dusty area, lift your wipers when parked for extended periods to prevent dust from scratching the glass.
Final Checklist
- Both wiper arms lift smoothly and lock, with no visible rust or damage.
- Rubber edges are intact, flexible, and free of cracks, tears, or stiffness.
- Blades are securely attached and frames show no bending or broken parts.
- After a wet test, wipers clear water without streaks or chattering.
FAQ
How often should I replace my wiper blades?
Most manufacturers recommend replacing blades every six to twelve months, but it varies with climate and usage. If you notice streaking, chattering, or visible damage, replace them sooner. Heat and sun accelerate wear, so in hot climates you may need more frequent changes.
Can I repair a cracked wiper blade or should I replace it?
For the safety of your visibility, replace a cracked blade. While you might temporarily smooth the edge with sandpaper, that only postpones the inevitable and could risk damage to your windshield. A slight crack can turn into a complete tear, leaving you with no wiper function in a downpour.
Why do my wipers leave a smear even after I clean the blade?
A smear that persists after cleaning likely indicates that the rubber has hardened or become worn and no longer conforms to the windshield's curve. It might also be an oily film on the glass that a standard cleaner misses. Try a dedicated glass polish, and if that doesn't help, replace the blades.