How To Build A Simple Monthly Garage Maintenance Checklist
A practical step-by-step guide to how to build a simple monthly garage maintenance checklist, including preparation, instructions, common issues, tips, and next steps.
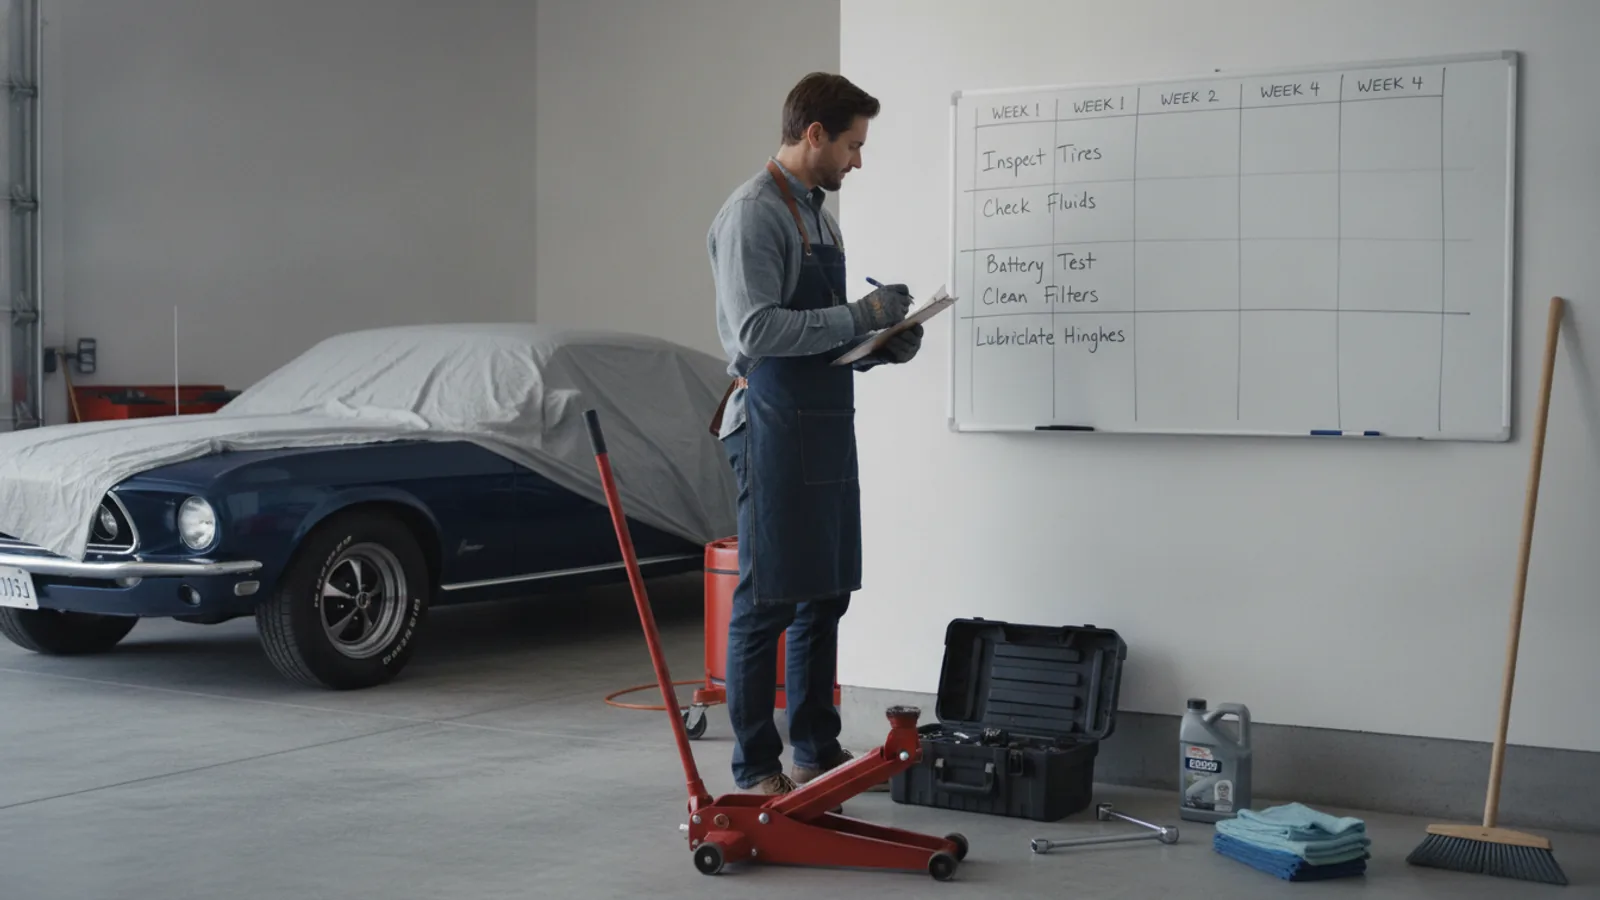
How To Build A Simple Monthly Garage Maintenance Checklist
A monthly garage maintenance checklist helps you catch small problems before they become expensive repairs. This guide walks you through six simple checks: sweeping and inspecting the floor, testing the garage door opener, lubricating moving parts, checking weatherstripping, inspecting tools and stored items, and reviewing safety equipment. Each step explains why it matters and how to do it quickly. You'll also find a quick-reference table, common issues, advanced tips, and a final checklist to keep your garage safe, organized, and functional.
Fast Answer
- Set a recurring reminder on your calendar for the first Saturday of each month to walk through this checklist.
- Keep a dedicated notebook or digital note in your phone to record findings and track patterns over time.
Before You Start
- Gather a flashlight, a step ladder, a screwdriver, a wrench, a soft brush, and a dry cloth before you start.
- Make sure you have a can of silicone-based lubricant or white lithium grease suitable for garage door parts.
- Put on safety glasses and work gloves to protect yourself from dust, sharp edges, and moving components.
- Have your garage door remote and wall control handy so you can test the auto-reverse feature.
Step-by-Step Instructions
Sweep and Inspect the Garage Floor
Begin by removing any loose items from the floor, then sweep thoroughly from the back toward the door. Use a flashlight to examine the concrete for oil spots, puddles, or small cracks. These stains often indicate a leak from your car or a stored container. If you notice a wet spot, wipe it with a dry cloth and check the source—maybe a bottle is cracked or a car is dripping. Sweeping also prevents debris from getting trapped under car tires or in the door track. A clean floor lets you see problems early. For stubborn stains, sprinkle baking soda on the area, let it sit for ten minutes, then scrub with a brush. This simple action keeps your garage safer and more pleasant to use. Once the floor is dry, take note of any cracks larger than a hairline; you can seal them later with a concrete patch, but for now just mark the spot on your checklist.
Test the Garage Door Opener Reverse
Stand near the garage door and press the remote or wall control to close it. Just as the door touches the floor, place a block of wood or a rolled-up towel under the center. The door should stop and reverse within two seconds. This is called the auto-reverse feature, and it prevents injuries or damage to pets, children, or objects. If the door does not reverse, unplug the opener and check the sensor alignment. The two safety sensors near the floor should have steady green and red lights. Wipe the lenses with a dry cloth. If the lights are blinking or off, adjust the sensor brackets so they face each other squarely. After testing with the block, try again with a piece of paper to confirm the door stops before crushing it. This test takes about five minutes and is the most critical safety check on your list. Never disable the auto-reverse feature.
Lubricate the Moving Parts
With the garage door fully open, unplug the opener to prevent accidental movement. Using a ladder, apply a small amount of silicone-based lubricant to the roller bearings, the hinges, and the top of the track—not the track itself. The track should stay dry because lubricant attracts dust and can cause buildup. Spray a light coating on each roller's center pin, then open and close the door manually by hand to distribute the oil. Wipe off any excess with a cloth. For the chain or screw drive, follow your owner's manual for the correct lubricant, but generally a thin layer on the chain is fine. Over-lubricating is worse than under-lubricating because it creates sticky residue. This step reduces wear on the opener and makes the door run more quietly. If you hear squeaking or grinding, pay special attention to the rollers that look worn. Proper lubrication, done once a month, extends the life of the whole system and prevents costly repairs.
Check Weatherstripping and Seals
Look at the rubber or vinyl seal along the bottom of the garage door and the weatherstripping on the sides and top. Run your hand along the seal to feel for cracks, gaps, or hard spots. This seal keeps out rain, pests, and drafts. If you see daylight under the door, the bottom seal may be compressed or torn. To test, close the door and place a sheet of paper in the gap; if you can pull it out without resistance, the seal is not tight enough. Clean the seal with a damp cloth to remove dirt, then apply a silicone conditioning spray to keep it flexible. If the seal is cracked, you can buy a replacement strip and slide it into the groove, but for now just note the condition. Check the side stops for gaps larger than a pencil's width. Replacing a worn seal is a simple do-it-yourself job, but ignoring it wastes energy and invites rodents. Perform this check monthly to catch small issues before they require a full door adjustment.
Inspect Tools, Shelving, and Stored Items
Walk around the entire garage and scan for any containers that are leaking, tools left on the floor, or items stacked too high. Check that shelving units are stable and not overloaded. Look at the labels on any chemical containers to ensure they are sealed and upright. If you store gasoline, paint, or cleaners, verify they are in approved containers and away from ignition sources. Inspect cords on power tools for cracks or bare wires. Remove any tripping hazards like extension cords stretched across walkways. For items stored on overhead racks, make sure they are securely tied and not sliding. This is also a good time to wipe down tool handles and clean any greasy residue. A tidy garage reduces accidents and makes it easier to find what you need. If you notice a leak or a damaged container, put it in a tray and plan to dispose of it safely. This monthly visual inspection prevents small spills from becoming bigger problems.
Review Safety Equipment and Emergency Items
Inspect your fire extinguisher to confirm the gauge is in the green zone and the pin is secure. Check the expiration date on the extinguisher; if it's older than six years, replace it or have it serviced. Look at your first-aid kit to ensure supplies like bandages and antiseptic are not expired or empty. Make sure a flashlight with fresh batteries is in an accessible spot, and test it by turning it on. If you have a carbon monoxide detector in or near the garage, press the test button to verify it beeps. Check that all cords for door openers are not frayed. This step ensures that in an emergency, your equipment will work. If you have a manual release cord for the garage door, pull it gently to confirm it moves freely, but be careful to re-engage it properly. Replace batteries in any detectors if you are unsure of their age. A few minutes of checking now can save a life later.
Quick Reference
| Situation | Action | Why it helps |
|---|---|---|
| You see a puddle or oil spot on the floor that was not there last month. | Put on gloves, wipe up the spill with a cloth, and then trace the leak to the source. Check the car's underside for drips and inspect any stored containers for cracks. Make a note in your checklist. | Identifying the source early prevents damage to the concrete and potential contamination. If left unchecked, a slow leak can become a costly repair. |
| The garage door does not reverse when you test it with a block of wood. | Unplug the opener, clean the sensor lenses with a dry cloth, and realign the sensors so they face each other. Then plug the opener back in and run the test again. If it still fails, call a professional technician. | The auto-reverse feature is a critical safety mechanism. A malfunctioning sensor could crush a child or pet, so it must be restored before you use the door normally. |
| You feel cold air coming in under the garage door during winter. | Close the door and check the bottom seal for gaps or hardening. Clean the seal, then apply a silicone conditioner to soften it. If the seal is cracked, replace it with a new one from a hardware store. | A tight seal keeps weather out, reduces energy loss, and prevents pests from entering your garage. Replacing a worn seal is cheap and can be done in minutes. |
Common Issues
- Squeaky or noisy garage door when opening or closing.: Lubricate the roller bearings, hinges, and chain (if chain-driven) with a silicone or white lithium grease. Also check for loose bolts on the track and tighten them with a wrench. If noise persists, inspect rollers for wear and replace them if damaged.
- Sticky residue or dirt buildup on the garage door tracks.: Wipe the tracks clean with a dry cloth, then apply a thin layer of lubricant only to the moving parts, not the track itself. Remove any debris that might have fallen into the track. Avoid using oil-based products that attract dust.
- Mice or insects entering through gaps in the weatherstripping.: Seal all gaps with expanding foam or caulk, paying special attention to corners and edges. Replace any damaged weatherstripping. Keep the floor clean and store pet food in sealed containers to avoid attracting pests.
Advanced Tips
- Install a battery backup for your garage door opener so you can operate it during a power outage. Check the battery status monthly and replace it every two years.
- Consider adding a smart hub that monitors your garage door status and sends alerts to your phone. Test the sensor's functionality monthly to avoid false alarms.
- Use a digital calligraphy pen to trace the outlines of tools on a pegboard, making it easy to see when something is missing or out of place, then perform a quick visual check.
Final Checklist
- Sweep the floor and wipe up any spills, noting stains for later follow-up.
- Test the garage door auto-reverse with a block of wood and clean the sensors.
- Lubricate all moving parts and remove excess lubricant with a dry cloth.
- Inspect and clean the weatherstripping, test seal tightness with a piece of paper.
- Scan the storage area for leaks, clutter, and unstable shelves; secure any loose items.
- Check the fire extinguisher gauge, first-aid kit supplies, and flashlight batteries.
- Test the carbon monoxide detector and smoke alarm if present in or near the garage.
FAQ
How often should I perform a garage maintenance checklist?
You should do a basic visual sweep monthly. This guide's six steps are designed to take about thirty minutes. Some tasks, like lubricating the track or testing the auto-reverse, may need more frequent attention if you use the garage door daily. For a thorough inspection, such as checking spring tension and cable condition, call a professional once a year.
Can I do all these checks myself without a professional?
Yes, most of these checks are safe and simple for a homeowner. The only exception is if you see a broken spring, a frayed cable, or if the door is off balance. Those parts are under high tension and should only be handled by a trained technician. Always unplug the opener before working near moving parts.
What should I do if I find a problem during the checklist?
Record the issue in a dedicated notebook and prioritize repairs. For minor items like lubricating or adjusting sensor alignment, you can fix them immediately. For anything involving springs or cables, or if the door still does not work correctly after your adjustments, book a professional inspection. Do not use the garage door until you are certain it opens and closes safely.